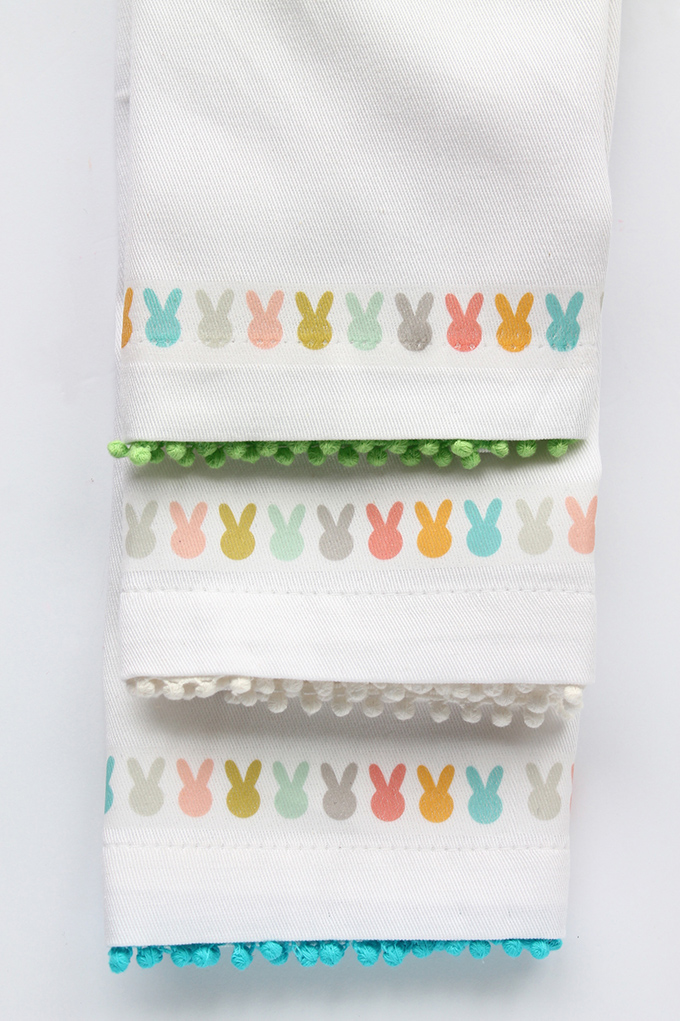
 Okay, you caught me. I’m totally just reusing the exact same printable from the bunny napkins with these easter eggs – but it’s a different way to use them so that counts right? I mean, wouldn’t they look so perfectly cute beside these napkins?
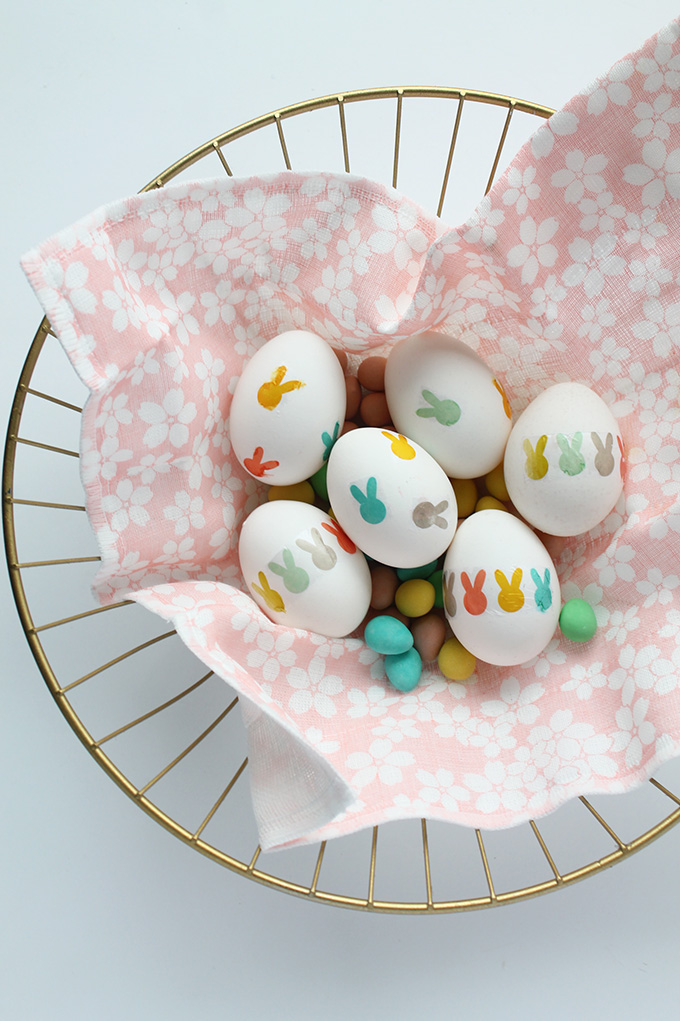 So how do we make them you ask? With printable tattoo paper! Yes! I fell in love with this technique when I first saw it over on The Crafted Life. I mean, so smart right!? So grab that free printable and let’s make some DIY Bunny Tattoo Easter Eggs!

M A T E R I A L S
- Printable tattoo paper (this one is my go-to)
- Colour printer
- Scissors
- Eggs
- Damp cloth

S T E P S
- Download the free printable below and print in full colour onto tattoo paper according to the manufacturer’s instructions
- Cut the bunnies into strips or singly.
- Ensure your egg is dry and place the bunny tattoo image side down onto the egg. Place a damp cloth over top and apply light pressure for approximately 45 seconds.
- Gently peel off the tattoo paper backing and allow to dry. If necessary, smooth out any wrinkles with a paper towel (see note below).

In 100% honesty (cause I like the truth people), these were a lot trickier than I expected. The strips were much easier, but the individual bunnies wouldn’t adhere as neatly to the egg. The plasticy part kept curling up at the edges. My trick? Gently peel off the backing and immediately (but gently!) press down on the plastic film with a dry paper towel in a sweeping motion from the middle to the edges.


And because I was asked to share the imperfect behind the scenes – this is what happens when you decide to cut corners and not hard boil/blow out your eggs. It doesn’t look disastrous but guys, raw egg is not fun to clean up.
And for more easter inspiration…
Easter Archives


haha! I love the imperfect photo… but cutting corners by not boiling the eggs is way to risky for me! I love these eggs
Yep I’ll never do that again!