This post contains affiliate links
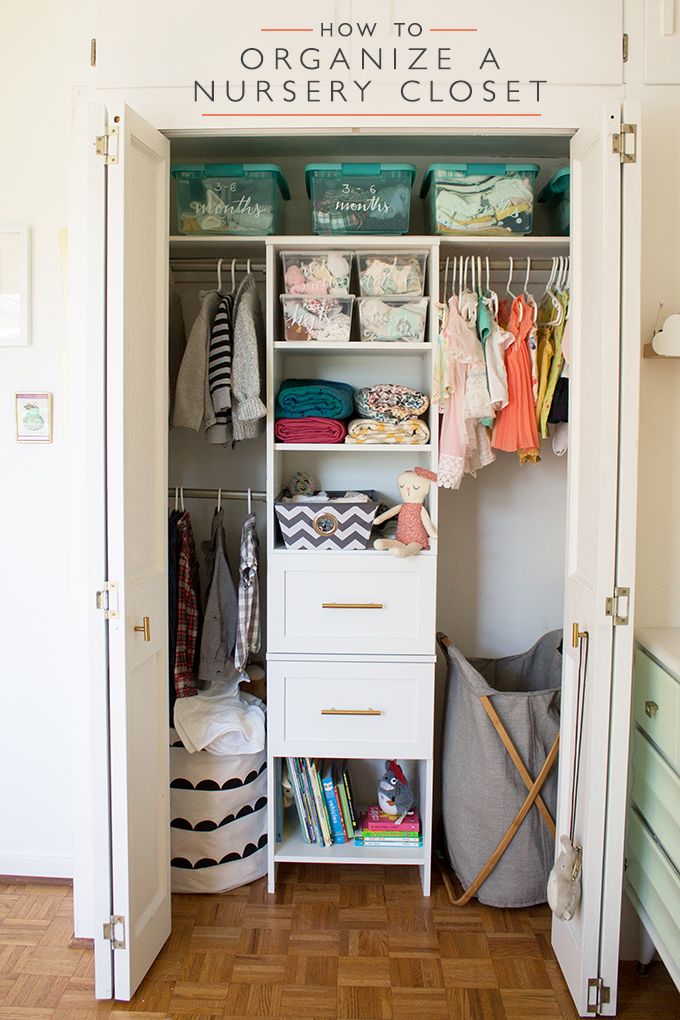
So I took these photos months ago and have been trying to edit them and write this post for months since. Motherhood, I tell ya. But finally, I’m here to share how to organize a nursery closet, or at least how I totally transformed ours. The before? Oh guys, it was scary.
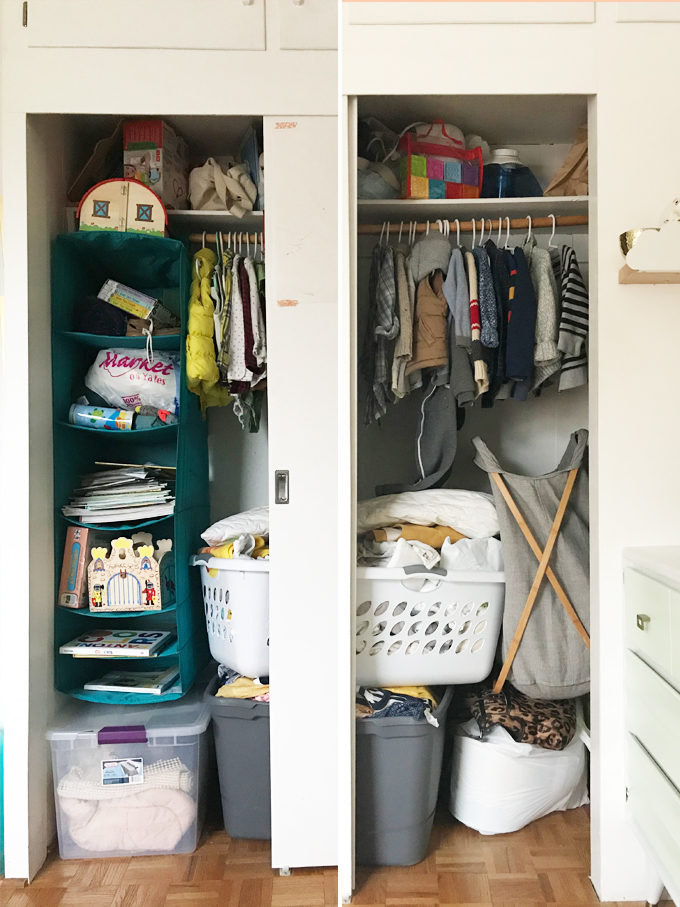 Yep, there it is, in all its disastrous glory. One of the biggest problems with this closet was that it had sliding doors. We were only able to access half the closet at a time (look closely, it’s two photos up there).
Tip #1 – If it’s not functioning, change it.
Not being able to access the entire closet at the same time meant things got stuffed into dark corners and junk accumulated over time. While this fix was a bit of a pain, it was cheap (people are selling used bi-fold closet doors all the time) and made a huge difference.
 Another functionality problem was the unusable space. A single rod just makes no sense, especially in a nursery when the clothes are teeny tiny. Add layers of rods to maximize space. We opted for three, reserving space for our laundry hamper. Here’s the thing though folks, you have to think outside the box (literally). Our pre-made unit came with two longer rods, but I wanted three short ones. We had to do some finagling but we managed to cut them down and hang them up with just a little extra fuss.
But even so, not everything can go on a hanger.
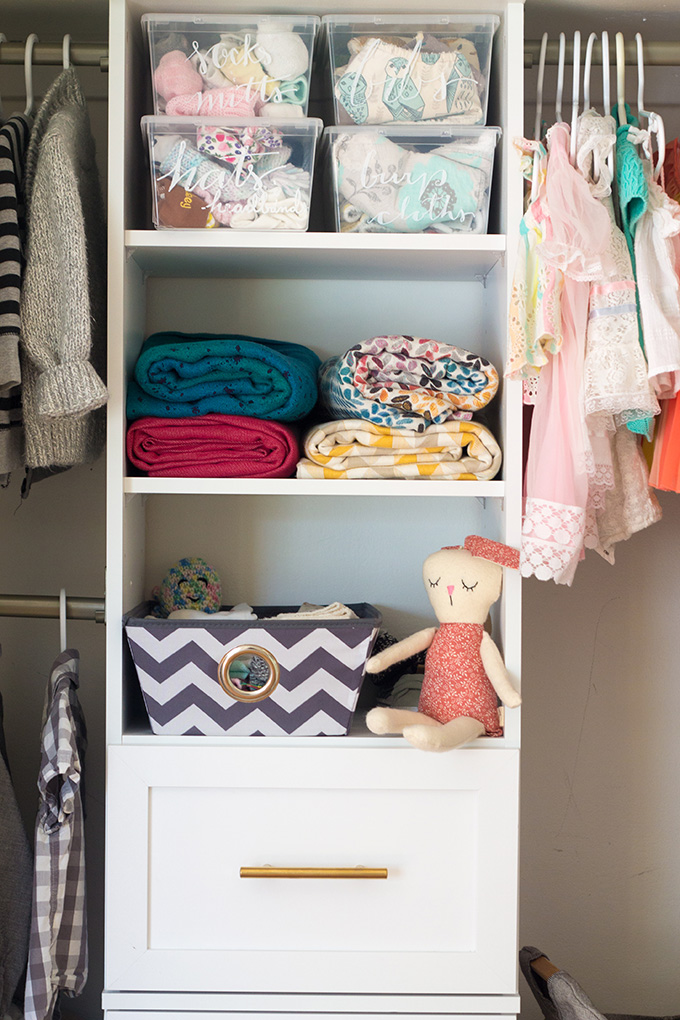
Tip #2 – add shelves and drawers, then customize them
Shelves are a must. They’re a great way to keep things visible but organized. I keep the bottom shelf filled with books and toys for easy toddler access, while the wraps and accessories go up top.
Another way to customize a ‘closet in a box’ is to add your own hardware. I’m pretty much obsessed with the sleek design of these golden rods. They add so much more personality than the standard issue ones.
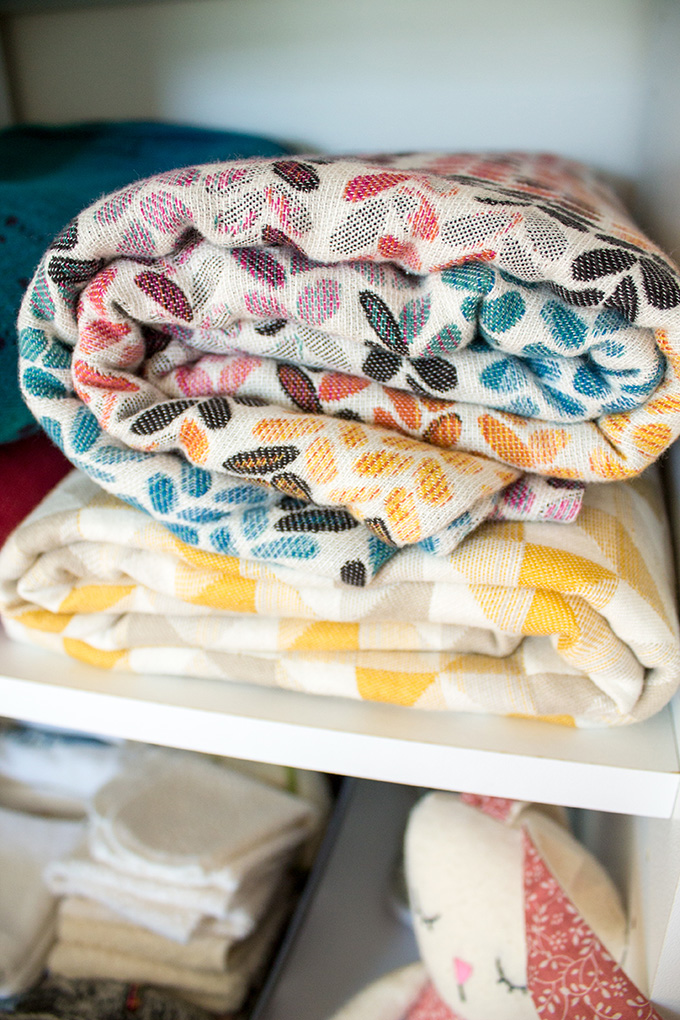
 But how do you keep those shelves and all those rotating baby clothes organized you say?
Tip #3 – label those bins
Babies grow way too fast (cue waterworks here) and the seasons change regularly enough that their clothes are CONSTANTLY rotating. You’ll want to keep slightly larger clothes organized and close at hand for that day you realize your favourite onesie doesn’t fit anymore. Use clear bins to store accessories and clothing so you can see exactly what’s inside, and label them. I use an oil paint pen to mark the month range of the clothes inside so I know exactly where to get what I need. Bonus? You can scrape it off with your thumbnail and use a baby wipe to clear it, then rewrite it when it’s time to put different clothes in there.
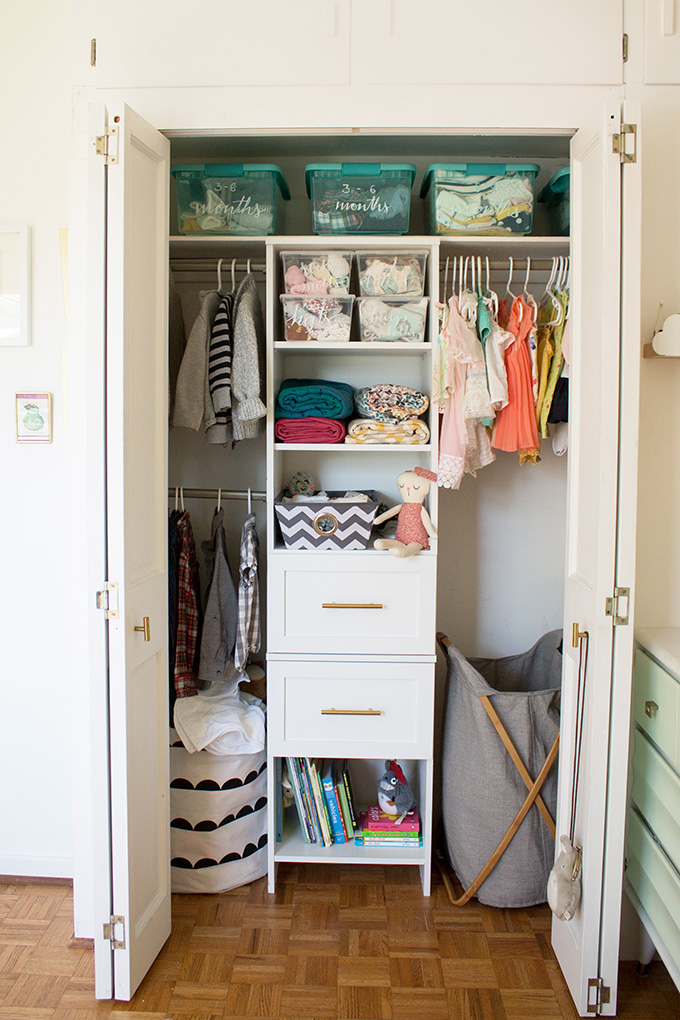
Tip #4 – keep an unlabeled bin for those outgrown clothes
I’ve annoyed myself by dressing Estie, realizing the item didn’t fit, throwing it into the drawer then trying to put it on her again a week later. Having a spot to put these clothes into right away will help avoid this, and since you won’t have the time to organize them right away, it’s nice to have a spot to throw too-small clothes into and organize when you have a chance.
Do you have any closet organization tips? I’d love to hear them! Share them in the comments below.




Wow! This is such a wonderful and organized wardrobe!
I switched mine so many times 😀
I have 3 daughters and clothes are always in a row for easy sizing, but I have a few things to adjust after reading this post 🙂
Thank you!
Oh yes that’s clever! With squirrelly boy I tagged the hangers with sizing so I knew exactly what size was on what hanger. I could not time manage enough with #2 to get that going again though. Well done on your sizing organization!