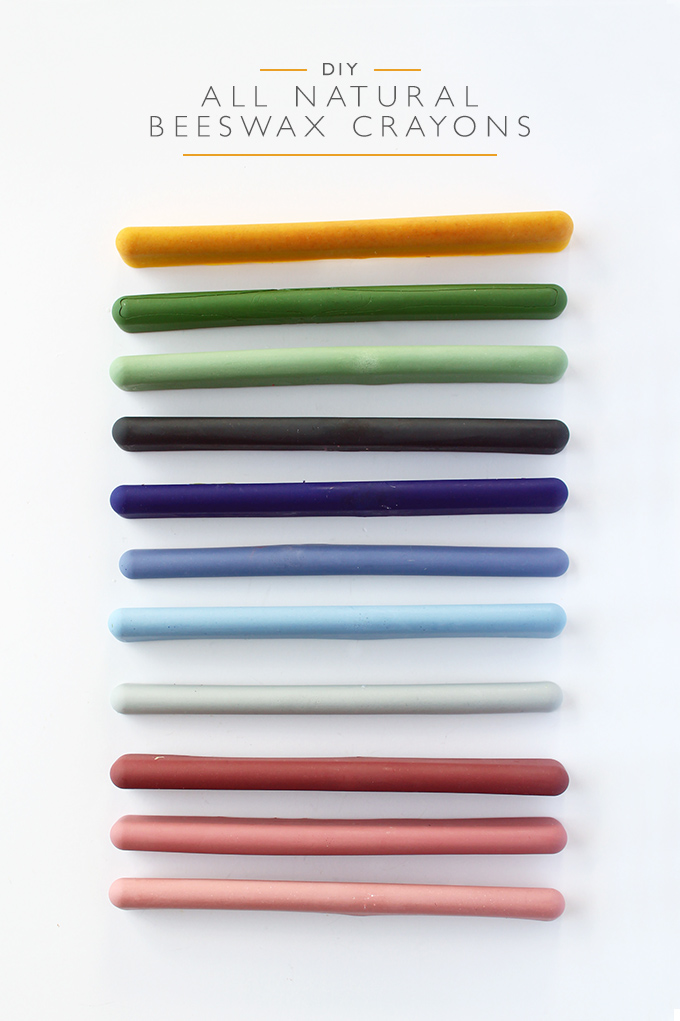
 My parents grew up Little House on the Prairie style, and while I wouldn’t ever trade modern day conveniences, I often romanticize a life where everything is made by my hands – where I know exactly what is in what we eat, sleep, and play with and where each ingredient has come from. I received a copy of The Beeswax Workshop and thought it would be a nice way to introduce a little of that pioneer lifestyle. Flipping through deciding what to make, I knew it had to be the DIY all natural beeswax crayons. Spoiler alert, commercial crayons are kinda horrible.
 As much as I’d love to make every single toy squirrelly babe plays with and every item he eats, it’s just not feasible. But these beeswax crayons are one item I think will be on my regular DIY rotation. I didn’t realize until reading through that, while technically nontoxic, commercial crayons are made with some pretty nasty stuff – paraffin wax, genetically modified soy bean oil, and even lead and asbestos in some cases (what!!!????). Considering squirrelly babe still likes putting things in his mouth, this put me off entirely. Plus, I LOVE the idea of all natural art supplies with all natural pigments. Some of the colours you can even find around the house. I used turmeric for yellow, and you can use cocoa or coffee powder for brown, and charcoal for black! I have a full list of natural pigments below and where to get them.
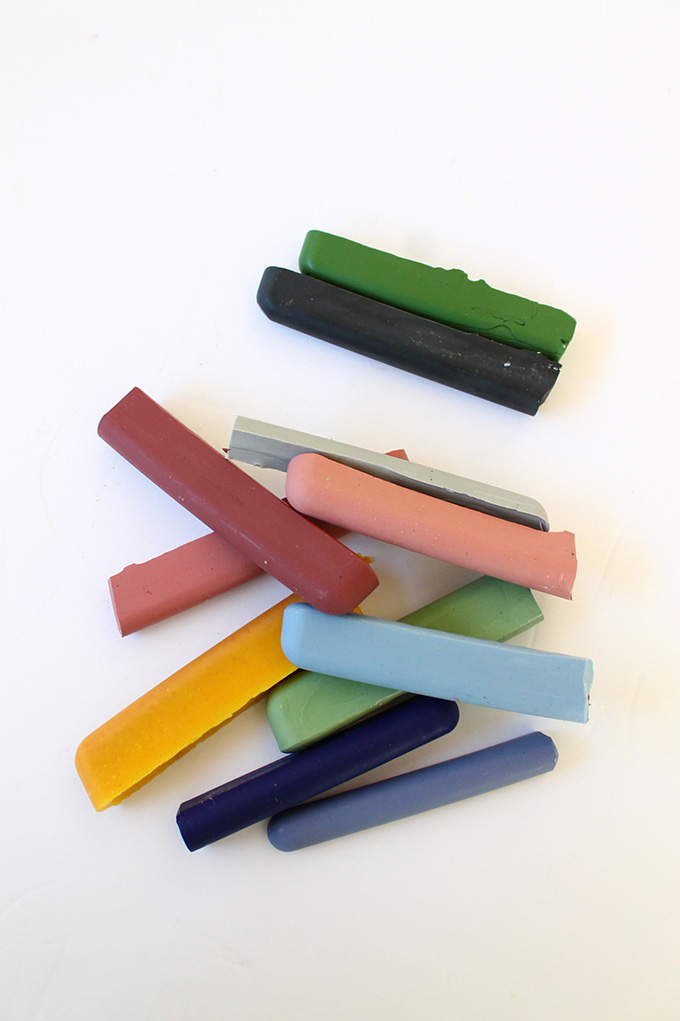
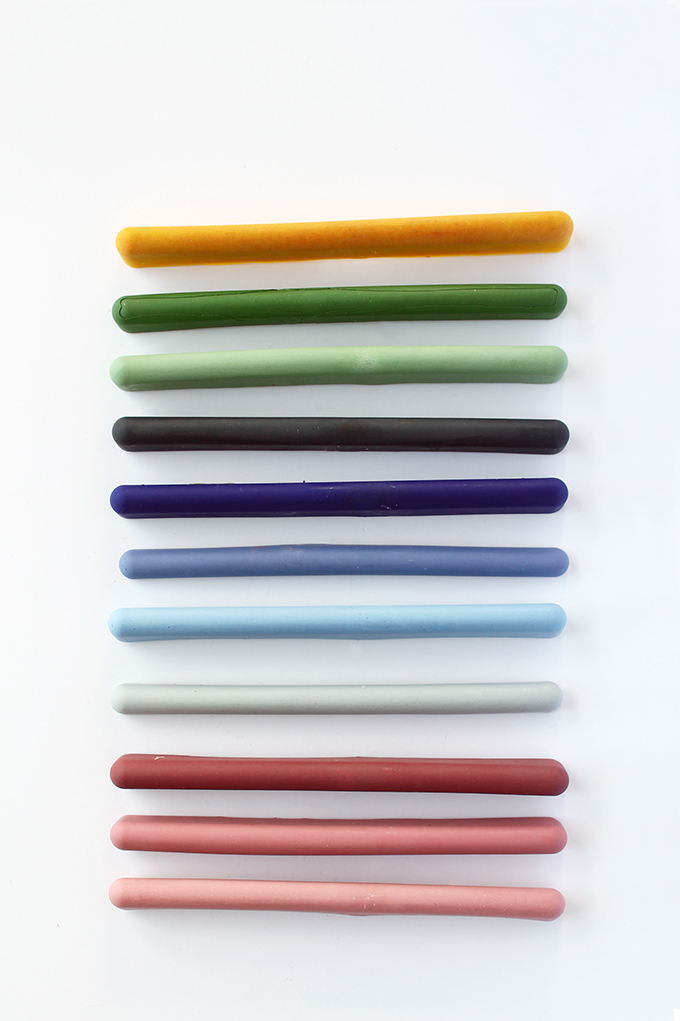
 Except for some of the crayons where I added too much white colouring (more on that in the ‘tips & notes’ section), I really like how these crayons colour. It glides on evenly and richly – does that make sense? Just take my word for it, they’re awesome. This DIY is divided into 4 parts – natural dyes and mineral pigments, materials, steps, tips & notes. It might seem intimidating, but it really isn’t that bad. But do block off a couple hours of no kid time when making these. Hot boiling wax and kids don’t mix.
Natural Dyes and Mineral Pigments
- Red | red oxide mineral pigments*, Australian red clay, alkanet root, carmine, alizarin lake pigments ($$$)
- Pink | beet root powder (very pale), rose hip extract (very pale, $$$), hibiscus powder, titanium dioxide plus red oxide pigment*, cochineal bugs (not vegan) with titanium dioxide
- Orange | annatto (bright), alkanet root plus turmeric (burnt), yellow oxide plus red oxide
- Yellow | turmeric* (gold), yellow oxide mineral pigment, yellow ocher soil
- Green | spirulina algae powder, chlorella algae powder, green oxide mineral pigment*, French green clay
- Blue | ultramarine blue mineral pigment*, natural indigo powder, natural woad powder ($$$)
- Purple | purple ultramarine mineral pigment
- Brown | red ocher soil, brown ocher soil, brown oxide, cocoa powder, coffee powder, black walnut powder, burnt umber mineral pigment
- Black | charcoal, black oxide powder*
- White | titanium dioxide*
* Indicates pigments I used.
Instead of purchasing large amounts of separate colours, try a sample pack.
Note: While mineral based, oxides and ultramarines are pigments and therefore technically not considered natural since they are not derived from plants or animals. These colours are created in a lab to avoid contamination of lead, mercury, and other nasties found in the mines where these minerals originate. If you want truly all natural, stick to the botanical and natural colourants listed above such as soils, edibles, and bugs (cochineal).
M A T E R I A L S
- Silicone Mold (this is what I used, but I WISH I saw these shorter ones!
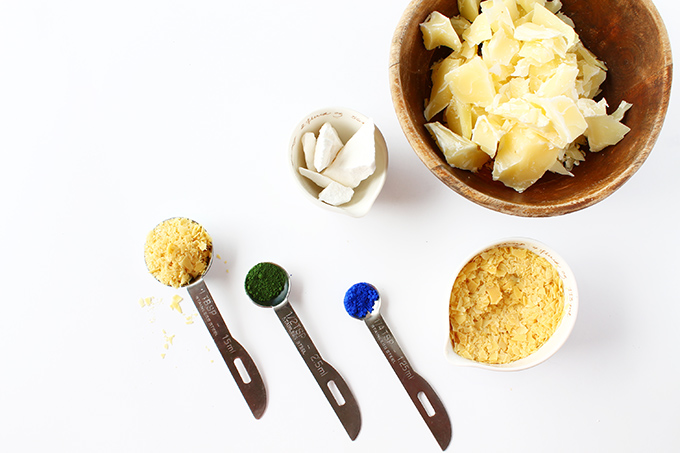
- 3/4 cup (6oz) beeswax
- 2 tablespoons cocoa butter*
- 6 tablespoons carnauba wax
- 1 teaspoon each of 5 different natural pigment (listed above)
- 5 different glass jars
- 6 spoons
- 1/4 cup measuring cup
*You can substitute cocoa butter for tallow or kokum butter. I used kokum as it’s marginally cheaper.
S T E P S
Adapted from The Beeswax Workshop by Chris Dalziel
- Make a double boiler using a glass measuring cup or other glass item. (I used a large glass milk jug, but the wax took longer to melt because of its narrow base.)
- Simmer beeswax, cocoa butter, and carnauba wax in the glass cup over medium heat until the beeswax is melted. All the waxes will melt into a beautiful rich amber colour.
- While the waxes are melting, prepare your five glass jars by putting the pigments in each one.
- When the wax mixture has fully melted, measure out a 1/4 cup and pour into your first pigment ready jar. Mix thoroughly and quickly as the wax will melt fast. I found it useful to put the glass jar into the hot water for 10 seconds to keep the wax melted while I made sure the pigment was thoroughly mixed.
- When out of the hot water, continue to mix the pigmented wax until it cools slightly and begins to thicken. Pour the wax into your silicone crayon mold.
- Repeat with each additional crayon colour. Allow the crayons to sit and harden for several hours until they are cool to the touch.
- If you use the long silicone mold like I did, cut the crayons in half.
T I P S & N O T E S
- I got brave and started mixing up the pigments to make my own colours. It’s totally fun, but only do this if you’re okay with a little disappointment. Some colours turned out lovely, but others were weak because I used too much titanium oxide (white).
- When melting the waxes, I found the carnauba wax was the last to melt and needed rigorous mixing. I later read that carnauba wax has a higher melting point than beeswax, so the book recommends you melt this before adding beeswax.
- Cleaning up is a bit of a pain as the wax hardens on everything, so don’t use jars/pots/spoons that you really care about. When cleaning, do not put any water with melted wax, or any wax at all down the drain as it can wreak havoc on your pipes. To clean your tools, dip them in boiling water to soften the wax and wipe with a rag or paper towel. Repeat process until all the wax is off. It may feel oily or waxy afterward but just give it a good wash in hot water to wipe the residue. Discard waxy water in your garden or lawn (I don’t think it will harm it! …I’ll let you know).
- I used a big hunk of beeswax. Don’t. It was SUCH a pain to cut up! Use beeswax pellets instead to save your hands and sanity.
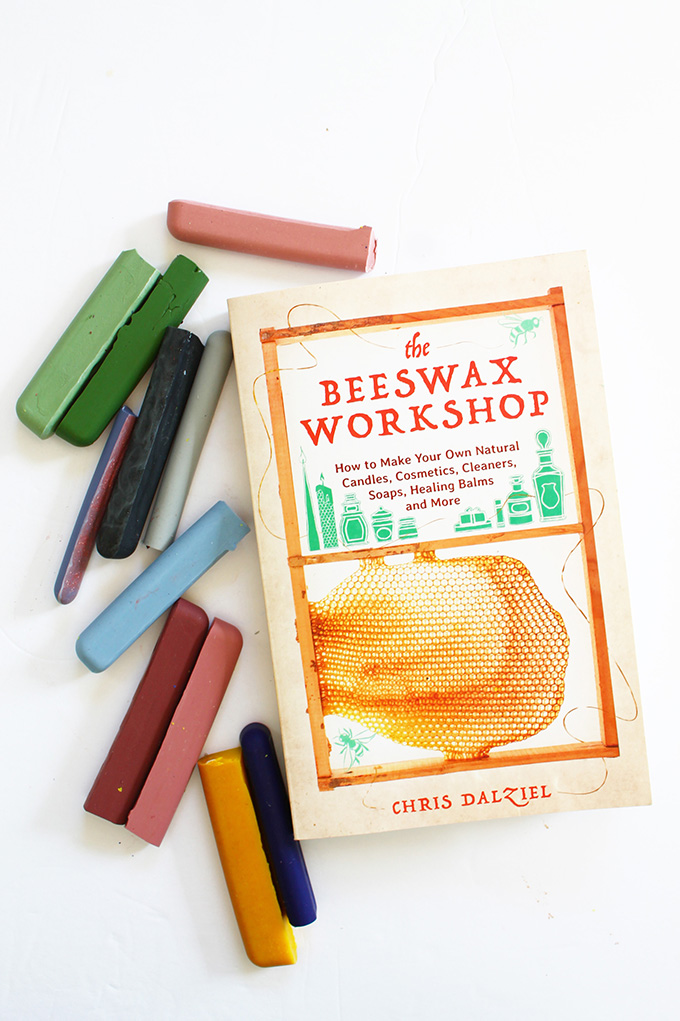 There are tons of really neat beeswax projects in this book. A few others I’m excited to try are honey soap, shampoo bars, food wraps, and modelling clay. Hmm…maybe I should become a beekeeper.






This is so great Tan! Never really considered the ingredients in crayons. Am definitely going to try this.
Neither had I until I read about it!
Hi can I use yellow beeswax instead?
I’m not sure. It might effect the colour.
Hi the recipe says 3/4cup of beeswax OR 6ounces but 3/4 is roughly 3.3oz ? I wanted to double check which is which?
Oops! Thanks for catching that Angel. I’m 99% sure it’s 3/4 cup but my book is packed and I can’t confirm >.<
So cool! I never thought about making my own crayons but now I want to try!
Do! It’s a lot of fun, and I just feel better knowing they’re full of good stuff only
hey! your crayons look great ! was wondering.. do you need to use carnauba wax or can it be substituted with some other kind of wax like soy or something else? am planning to make some myself but wanted to know if there are any variations of this recipe.
Hey Sareena!
Carnauba wax doesn’t have a decent substitute. It’s a really hard wax so substituting with any others might make the crayons too soft.
These are the most charming crayons I have ever seen! I’ve bookmarked them in my mind, hoping to get my nanny kiddos together and make some for their friends for the holiday season! Thanks for sharing!
What a perfect holiday activity! I’m sure this goes without saying but make sure you handle any of the hot wax parts! It can be a bit dangerous
About how many crayons does each batch make? Looking forward to trying this!
It would depend on your mold, but I made 11 long ones (as pictured above) which, when cut in half for a normal crayon size, makes 22!
How long can you keep the crayons for do they go mouldy? I was thinking of making a range for my business “Stay Wild Hippy Child”
Hmm I’ve had them ever since this post and they haven’t gone mouldy at all. But I don’t know what might happen in climates with higher humidity for example.
I need the modeling clay recipe. Any chance you have a post or recipe for that? I know it’s been a while.
I’m afraid not. All our books are packed away for our house move! I recommend picking it up though. It has so many great recipes in there.
Check out the CrayOn 2 Double Tipped, Triangular Silicone Crayon Molds – Makes 16 Crayons (Total)
by My Fruit Shack on Amazon! They might be prefect for you 🙂
Hi, I just made some crayons and was wondering if their suppose to feel really waxy more than normal crayons? I have made some with melting down crayons and just made a batch of these ones and noticed they wear down a lot faster than your usual crayon? Is that normal or have I went wrong somewhere
Thank you
Hmm bizarre. Mine came out quite solid. Did you use the same ingredients in their quantities?
Do you think using natural liquid food color would work? Or would it separate as it cooled??
I’ve never tried it but I’m unsure how well it would work. Like you said, it might separate.
I love this! Have you noticed if these crayons stain at all or if they wash out of clothes?
We never had a problem with staining. I suppose it would depend on the dyes you use
Hi! May I ask what is the effect of cocoa butter when added as an ingredient to make crayons?
That’s a good question, and honestly I don’t specifically know the answer. If I had to guess, I’d say it softens it/makes it easier to draw with, but don’t quote me!
Hi!
Is there any reason for not putting the mix on the mold when it is still liquid/melted?
I’ve got an earth pigment and it lost some “powder” in the bottle of the jar, can you guess why?
Thanks and sorry for any english mistake
Taís
I’m sorry I don’t fully understand. Did the powder not mix with the beeswax?
What about the color purple and silver and tan and skin tones
Purple is purple ultramarine mineral pigment. Silver would have to be some sort of metallic mica. For tans and skin tones, perhaps blending browns/reds/yellows and whites?