This post is sponsored by Snapbox. All opinions remain my own.
Thank you for supporting those who keep Squirrelly Minds running!
Get ready for a long and eventful post guys, cause I have so many goodies to share with you that I’m feeling a bit like Oprah today. Download for you, download for you, downloads for everybody!
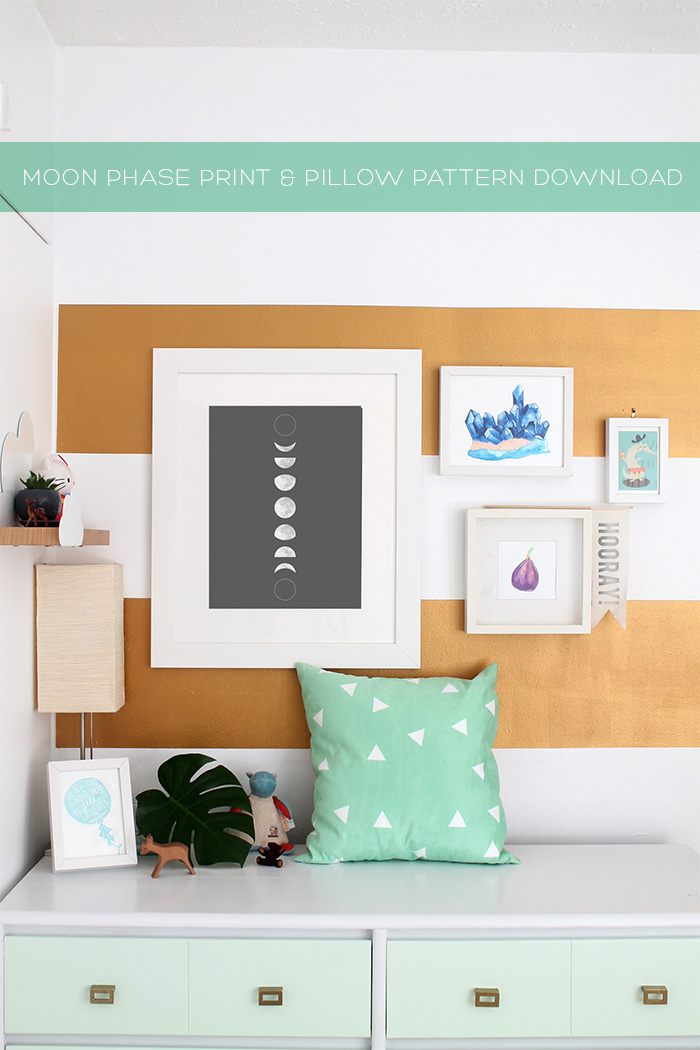
It’s no secret that I love to create, but this has been especially true with our squirrelly baby’s nursery. Aside from the crocodile print, I made/designed everything on the wall above the dresser with so much love. Equal to creating, I love sharing my creations with others, because I get that sitting down to make/paint can be incredibly daunting for a lot of people (I feel that way too sometimes). See that moon phase art print and the mint and white triangle pillow? You can have ’em friends. And for anyone who wants to get creative and make their own pattern in photoshop, Imma gonna show you how.
Yep, today is jam packed full of goodies made with Snapbox, so get ready!
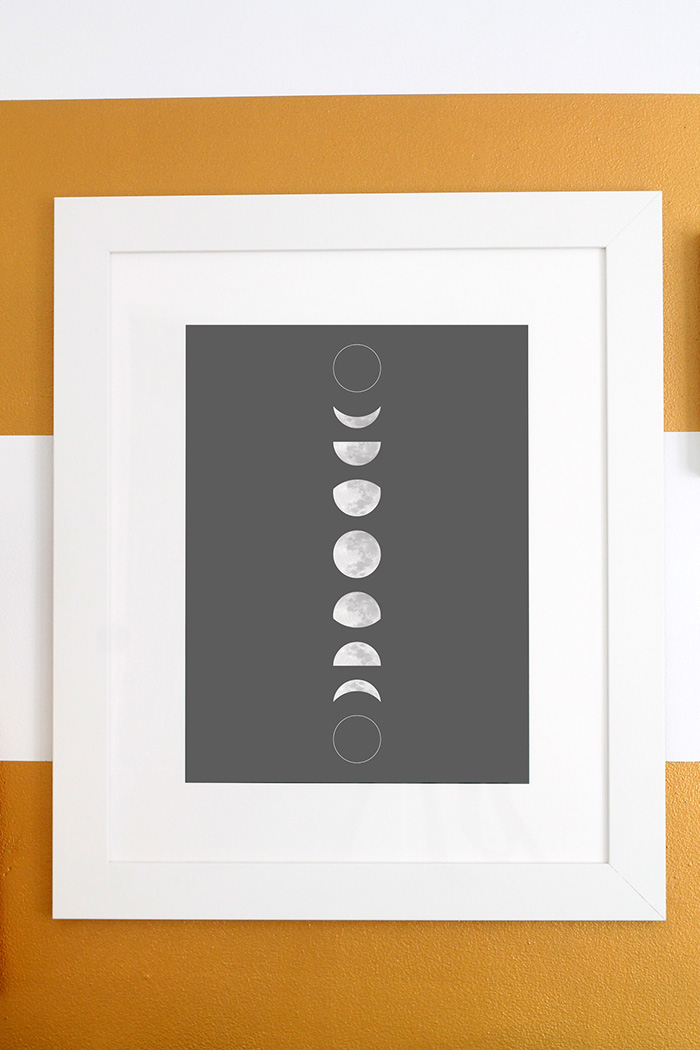
 Our nursery has a subtle space theme, so I created a 16×20 moon phase art print to tie it all in. It took a little (a lot) of tweaking in photoshop to get it just right, but I was so happy with the result. But you know how something can look incredible on the screen, but you build up all these grand expectations so that when you actually hold it in your hands it just isn’t the same? I worried this might happen, leaving me in disappointment due to my own unrealistic dreams. But nevertheless I persevered and sent it off to Snapbox with bated breath.
 No word of a lie friends, I squealed when my 16×20 framed art print arrived. I was completely blown away by the quality – it was BETTER than what I saw on screen and envisioned in my head! And honestly, where else can you get a gorgeous, custom frame at that size for only $25.99? (usd). These aren’t IKEA quality frames guys, they’re solid wood with a crisp white finish. Perfection!

 Want your own? Get it! Simply click on the above image to be taken to the art print. Right click and save it to your computer. Then, head over here, upload the image and follow the prompts to order your own 16×20 framed moon phase art print! I love this print because it isn’t nursery specific, so really it will fit into any room of the house. Be sure to send me/instagram pictures of it hanging in your home!
 And if you have a room that’s in need of a splash of mint, how about a white triangle on mint pillow?
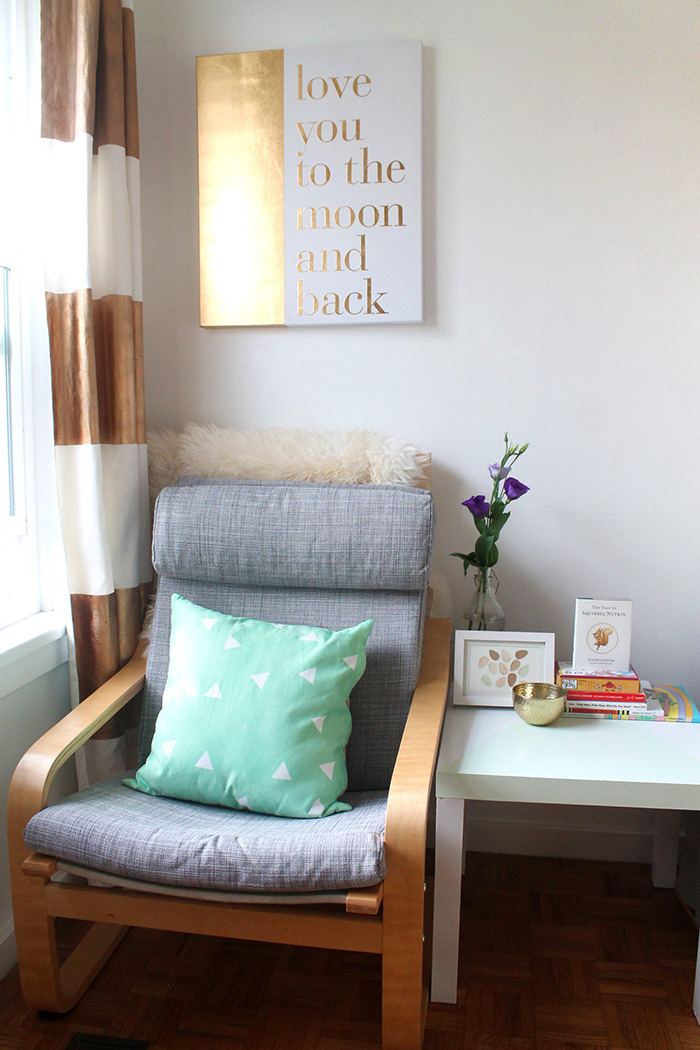
 I was really excited to develop a simple yet cute pattern to be created into a pillow for our squirrelly baby’s nursery. Much like the art print, I was again incredibly impressed by the quality of the faux suede pillow. It’s super soft (squirrelly baby will love snuggling up with it) and really comfortable when I lay back in the rocker. Knowing I’ll be spending a lot of my time in that chair with all those newborn feedings, comfort is absolute key. But of course, it also has to look good which, in my opinion, it totally does.

 To grab your own pillow pattern, again click on the above image to open up the pattern, then right click and save on your computer. Head right over here to select your pillow style, upload the image, then have your custom pillow made just for you. If mint triangles aren’t your thing, you can upload your own photo, and even have text written on it for you. Or, if you’re comfortable using photoshop, why not make your own pattern?
 Get ready for the lengthy part of the post, because I’m going to show you how to create your very own pattern using photoshop which you can turn into a pillow, an art print, or whatever you need. But I promise, it’s not nearly as complicated as it may look.
Ready to get your learn on? Let’s go!
 Step 1: Open Photoshop and either go to File-New, or hit command+n to create a new file. Make your file 4×4 inches, and be sure to set the resolution to 300 and color mode to CMYK. Hit ok.
Step 2: Right click on the shape toolbar and select the polygon tool. Select the dimensions you want (I chose 250×300) and type ‘3’ for the number of sides. Hit ok.
 Step 3: Right click your newly created triangle and, if you choose, select “Rotate 90 CCW” to turn the triangle upright. To move the triangle to a different location on the canvas, simply left click and drag to the new position.
Step 4: Repeat step 2 to create another triangle. If you would like to tilt your triangle as seen here, hit command + t (or edit-free transform). You’ll see a box appear around your triangle. If you hover your mouse over any corner, you’ll see a curved line with two arrows on each end. Click and hold, then move your mouse left or right to rotate the shape to any spot you like.
Step 5: Go ahead and repeat steps 2-4 to make as many triangles as you wish. I didn’t want my pattern too crowded, so I only made three triangles.
 Step 6: Once you’re happy with the triangles, you’ll need to merge the layers. If you have the layers toolbox open, you can do so by clicking the downward arrow in the top right corner, then press “Merge Visible”. Otherwise, you can simply press shift+command+e, or click Layer+Merge Visible.
Step 7: To start the pattern, Click “Filter-Other-Offset”.
 Step 8: The settings need to be set as shown for a 4×4 inch square. Regardless the size, it’s always half of the original. 4 inches is 1200 pixels, so therefore half that is 600 pixels. Click ‘Wrap Around’ then ok.
Step 9: To put your pattern in the ‘data’base, start by clicking ‘Edit-Define Pattern’
 Step 10: Name your pattern and click ok. Now save your file as a psd and close it.
Step 11: Now it’s time to create a new image for the item you want a pattern on. In my case, it’s the pillow. Again make sure it’s 300 resolution at CMYK if you plan to print. Make the image the size you need (Snapbox pillows at 18×18), follow all the other inputs as shown and hit ok.
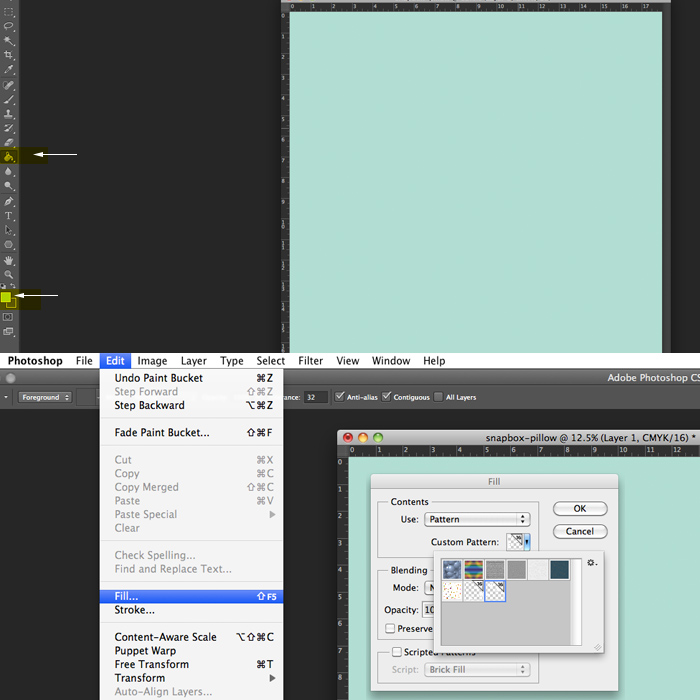
 Step 12: Fill the background of your image with your desired colour using the paint bucket tool. Make sure the colour you want is showing on the overlapping square.
Step 13: To fill the background with the pattern, go to ‘Edit-Fill’. Make sur ethe opacity is set to 100%, click “Select Pattern” then highlight the one you just made. Click ok.
 Step 14: Now the pattern has filled your image! If you want, you can stop here and skip to step 16. YAY!!!!! If you’re picky like me, you can make a few extra tweaks. Feel free to disregard the following steps if you’re over the moon happy with your pattern.
Now I’ll show you how to remove, rotate and copy individual triangles, and resize the entire image.
Knowing that the edges of the pillow would be distorted due to its curve, I didn’t want any triangles on the outer edges. All I did was remove them using the brush tool. Just make sure its colour is the same as the background.
Step 15: Now again, you can leave your pattern just like this and it’ll look great! Or you can be picky like me and want to tweak a few things here and there. Remember how I rotated the triangles back in steps 3 and 4? You can do exactly that again with each individual triangle you see. The only difference is you have to highlight the area surrounded the triangle. Press ‘m’, or click on the rectangular marquee tool (it looks like a box with a dashed border). Left click, hold and drag the box over the triangle you want to change, then let go. A box that looks like marching ants should now appear around it. Click command+t and you’re back to step 3 where you can rotate the triangle any way you like. Repeat as much as you’d like.You can also copy and paste whichever triangles you like by selecting it using the marquee tool, then hitting command+J. This will create a layer that you can move around.
 Step 16: Once you’re happy with the layout, first save it as a photoshop file in case you want to come back and make changes in the future. Then, repeat step 6 to merge all the layers. Again, you can leave it just like this or, if like me you want larger triangles, you can resize the image. To do so, click command+t. See those boxes in the corners? Left click on one and hold the shift button, then move your cursor up and down to make the image larger or smaller. When it’s at a size you like, let go of the mouse and shift key, then hit enter.
Step 17: Now it’s time to save. Click File-Save As, and then save as a jpeg using the highest quality options. Now you’re image is ready to be sent off to be made into a pillow, a print, or whatever else you like!

Once again in case you missed them, you can find the free Moon Phase Art Print and Pillow Pattern for download right here:

 Hope you all enjoyed our little sneak peek of the nursery, and the goodies that came with it!
I’ll be back in a few weeks with Snapbox and a post called “The Bump”, where I can share my maternity photos with you! They involve tall grasses, the mister making a rare appearance, and the most beautiful dock you’ve ever seen.
See you then!
Thank you for supporting those who keep Squirrelly Minds running!


Such a juicy post! I didn’t realize Snapbox did framing too — and so affordable. These are some killer downloads, girl!
Their frames are SO GOOD Chelsea. Super high quality and cray cray affordable
Love the moon phase download! Thanks for sharing
You’re very welcome!
So much goodness in this post! Your nursery is absolutely adorable. Thanks for the freebies!
Aww thanks! I had so much fun putting it together. Can’t wait to see what you do!
Wow, I had no idea about Snapbox… will definitely need to check them out!
Definitely do! Especially with that new house of yours you’ll have lots of walls to decorate (fun!)
Gorgeous, lady! This is seriously awesome. And I love what you’ve done with the nursery! xoxo
Thanks love! Looking forward to seeing your bebe’s nursery!
Thanks for downloads, and this is so well-explained, too!
Oh I’m glad! It was such a hefty tutorial that I was afraid of sounding all jumbled
Annnnddd….I’ll be creating some custom pillows now! Thanks Tanya!
Hah just adding to your to do list! 😉
Super fun idea! Thanks for being so creative!!!
You’re very welcome 😉
Tanya, as always I am amazed by your talent and creativity! You’ve done an amazing job and I am confident that your squirrelly baby is going to love it!! Cannot wait to meet the wee babe! xox
Ahh you are so sweet!!!
This is incredible! One lucky figlet. Love it!
Thank you!
love the cozy chair corner! Everything looks so fresh and fun!
I was worried it wouldn’t be comfy at first but thankfully it really is!
Such beautiful nursery art, thank you for sharing!! This is one lucky squirrelly baby 🙂
Thank you! I’m excited to have it in the nursery, but want it elsewhere in the house too!
Absolutely love the Moon Phase print! Gorgeous!
*smooches*1
Such a fun moon phase print! Those of us with no graphic design / Photoshop skills appreciate the downloads!! 😉 Your nursery is looking great Tan!
You’re so sweet <3
very cool! Thanks for sharing!
You are welcome!
Holy moly! Are these the best downloads ever?!?! I’m on the hunt for art. Moon art, specifically. So your timing couldn’t be more inspired!
Perfect!!!
Super sharp art print and frame job. The price seems like a steal.
If you want to get even crazier than just pillows, you can get yards of fabric custom printed. I stumbled on one place in Vancouver, clotho.co, that seems like a pretty good deal.
I’ve been looking for a local fabric printer. Thank you!
Love this! I’m pretty sure your babe is spoiled with the coolest room ever 🙂
I’m pretty sure your twins are and your little one on the way will be too!
I love love love the art! It’s got such character and is very on trend, but not overwhelming in your space. Great job 🙂 Pinned for future use!
Excellent picture ! Will frame it and put it in my bedroom 🙂 Thank you so much !!!!
Thank you! 🙂