 If you saw this picture on instagram a few days ago, you may have thought I had gone insane. I promise my insanity is in the name of art/DIY.
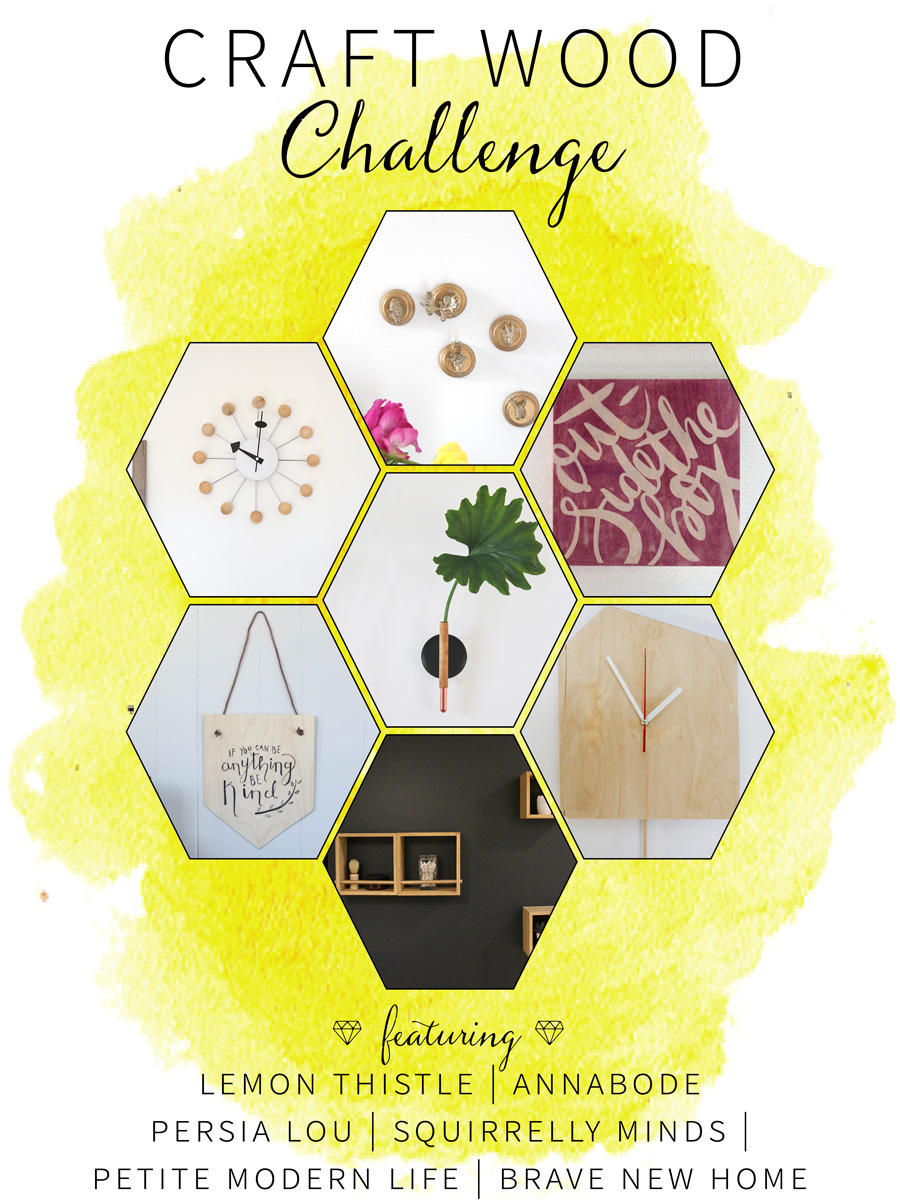
The lovely Colleen of Lemon Thistle invited me and 5 others to participate in a DIY challenge (scroll down to see their fab creations) – head down to the wood crafting aisle and turn an item into a DIY. My item? Wooden bases. I enjoy taking items that serve one purpose, and using them for another. When I saw a bin with a bunch of bevelled round wood pieces the idea struck – plastic animal head mounts. There’s no way I would mount a real animal head on my wall, but a plastic one? Sure! I found a similar mini version in a bag of 6 wooden bases. A perfect fit for mini plastic animals.
 The total time for this project is about 1 hour, 45 minutes of which is drying time. It’s certainly something you can do in an afternoon and have fun magnets/wall decorations for the evening!
Ready to cut off some animal heads? …plastic ones that is….
Let me assure you, no actual animals were harmed in the making of this DIY.
Now let’s create!
Materials
- Wooden base pack
- Plastic toy animals
- Sharp knife and cutting board
- Gold spray paint
- Adhesive removable mounting squares or adhesive magnetic strips
- Scissors
- Hot glue gun
steps
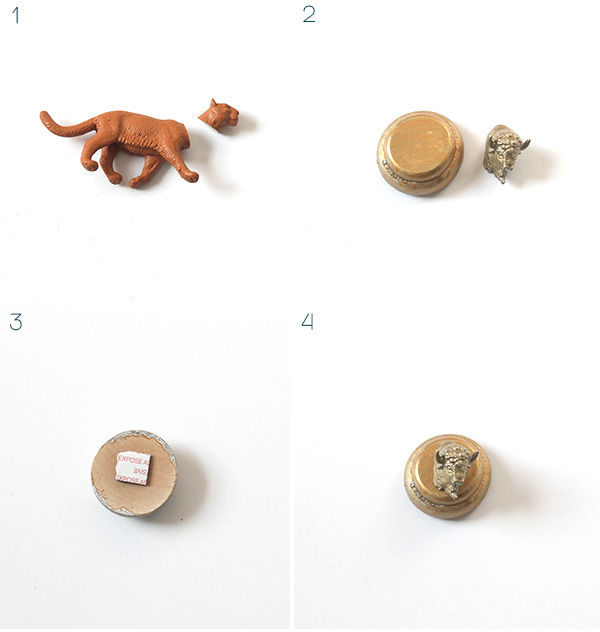
 1 Use a sharp knife on a cutting board to cut off the heads of your animals. For thicker necks, you may wish to wear a glove and press firmly down on the flat side of the knife to push the blade through. When selecting toy animals, try to go for a softer plastic as it’s easier to cut through. If your animal has large antlers, make sure you cut the neck at an angle so that, when mounted, the antlers won’t press against the wooden base.
2 Paint your wooden base and your animal head in the colour(s) of your choice.
3 Cut your adhesive mounting square and/or magnetic strip to size and place on the back.
4 Use a glue gun to adhere your animal head to the centre of the wooden base. Allow to completely dry before adhering to your wall or magnetic surface.
 These can be mounted either on a wall with adhesive backing, or use magnetic strips to create fun fridge magnets! (My personal favourite option). Also you don’t have to stick to just gold like I did. Maybe a white base with a gold head, or perhaps neon pink everything!
Check out all the other fantastic craft wood DIY’s out there today!
So go to the wood craft section and get making!
Yes…I just rhymed.


These are so cute! I love the idea of using them as magnets.
I definitely want to convert mine to magnets now
I am trying to understand why you would want to imitate the “trophy kills” that hang on the walls of hunters, with children. Each mount represents an animal that has been killed so it could be made into décor. Instead of learning to observe animals and appreciate their lives in nature, children learn that they dominate the natural world, that animals are commodities, not feeling creatures with lives of their own.
Thanks for your input Linda. This isn’t a children’s blog nor is this a specific kid DIY, so I leave it up to the reader’s discretion as to whether or not they see it appropriate.
Oh man, these are so fun! I bet they could even be used as hooks. Thanks for sharing.
Definitely! You could certainly use the larger wooden bases and then a larger plastic animal if you wanted to hook things like scarves or jackets. But you’d need something pretty heavy duty to cut through the plastic, like a saw, and stronger glue.
Hmmm now I wanna try…
I love these! I don’t have any fun magnets, you make me think that I need some… STAT! I am so thrilled you were able to participate Tan, awesome project!
Thank you so much for inviting me! I had a blast 😀
Love these!
Thanks Ariel! They were fun to make