Hi all! Chelsea here, from Lovely Indeed, happy to be swinging by to help our darling Tan out while she gets used to being a new mama! I became a mom for the first time myself about 9 months ago (holy smokes, time just flies), and I made this little garland for my son Henry’s nursery. You know I can’t resist a pompom!
 But the cool thing about this garland is that it works for boys, girls, and grownups too. And you’ll all be glad to know that now that Henry is a little older, he’s fascinated with the pompoms and pretty much can’t leave his room without wanting to bat them around. So bonus: it’s a great kid distraction!
Materials
- pompom makers (find them at your local craft or sewing store)
- yarn
- scissors
Make Time: About 5 Minutes per Pom
 Step 1: Open the legs on either side of your pompom maker and wrap yarn around each side. The more yarn you wrap, the fuller and fluffier your pompom will be.
 Step 2: Close the legs on the pompom maker.
 Step 3: Point the tip of your scissors between the ridges of the legs and snip apart the yarn on either side of the pompom maker.
 Step 4: Cut a 6″ length of yarn.
 Step 5: Wrap the yarn around the pompom maker so that it’s between the groove of the two legs. Pull it taut and make a double knot, as tight as you can.
 Step 6: Pull apart the two halves of the pompom maker to reveal your pompom.
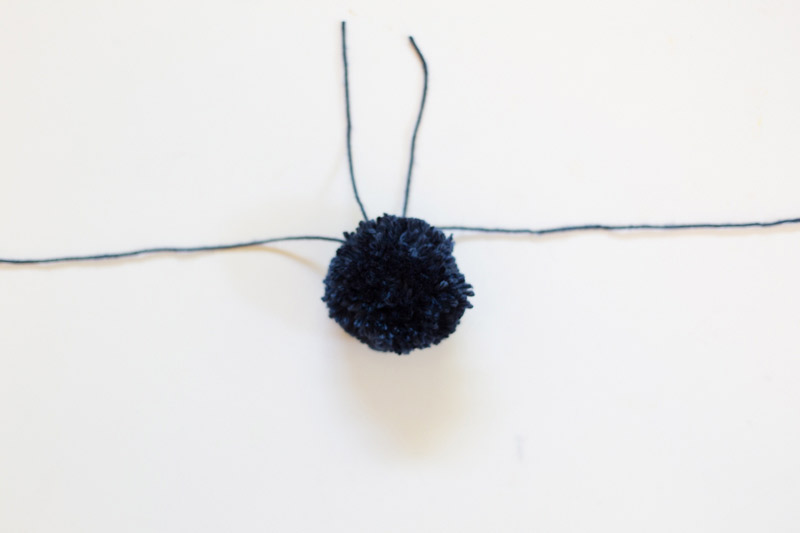
 Step 7: Use the long ends of the yarn you used to tie the pompom to tie it onto your garland. Tie tightly with another double knot.
 Step 8: Trim the ends of the yarn and keep making pompoms! Fill your garland with as many as you like and then hang it up somewhere fun.

That’s it! It’s so simple you could do it in your sleep. It’s taking everything I have in me not to fill our whole house with pompoms. Maybe I’ll make another garland as a backup… Thanks for having me, gang!
 Head over to Lovely Indeed for more fab DIY’s, and follow Chelsea on
Pinterest | Instagram | Facebook | Twitter


Love simple pom pom garland projects!