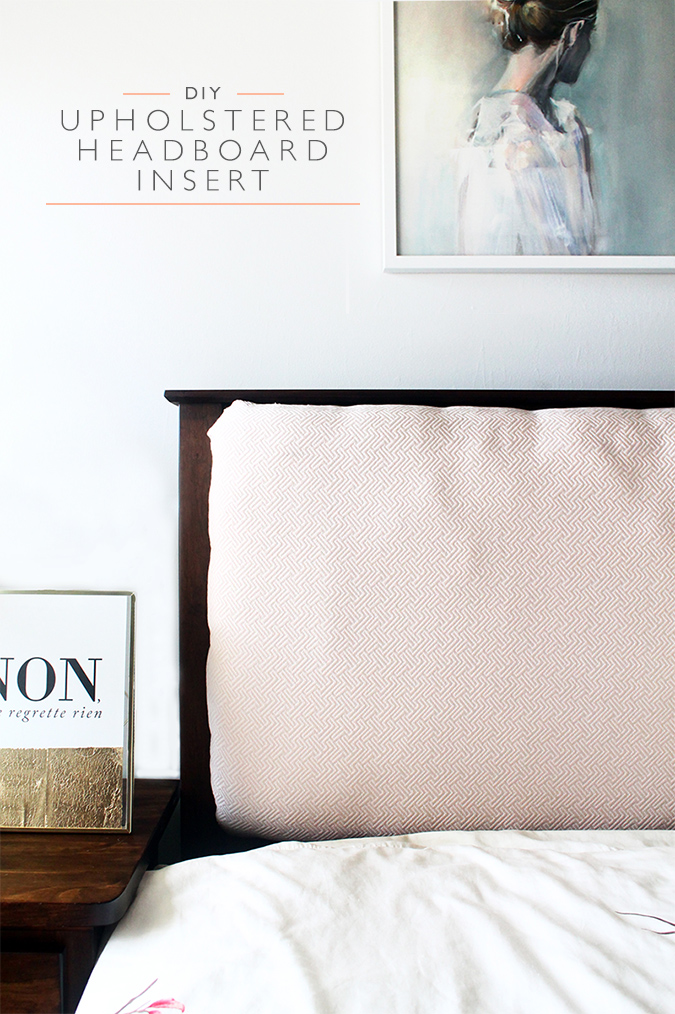
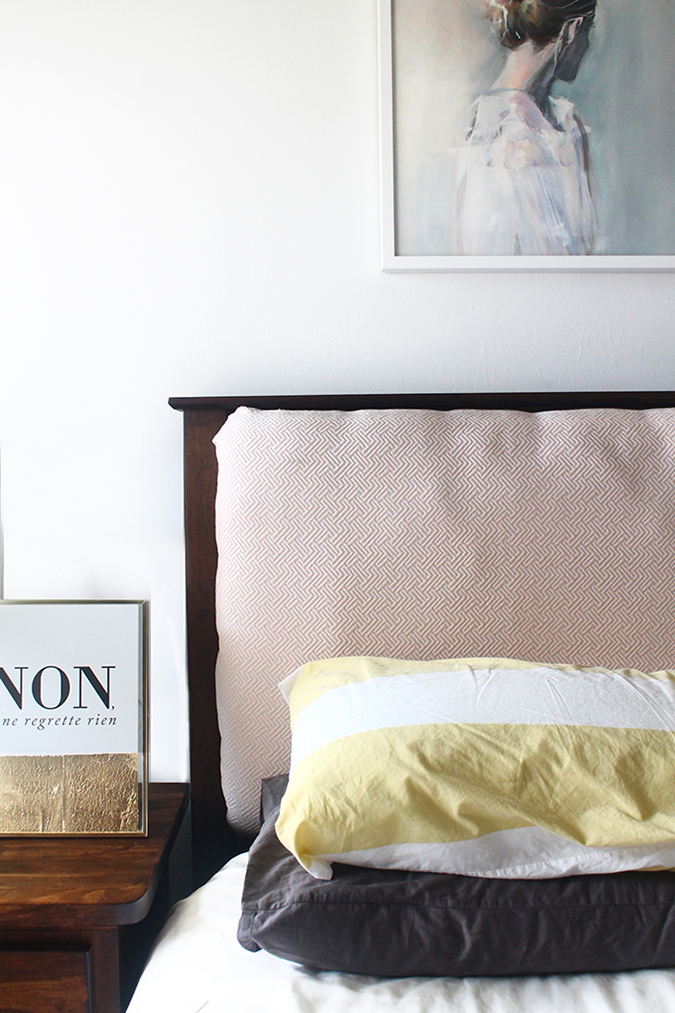
 Much like the plush kitties and clouds nursery mobile DIY, I can’t believe this took me two years to share with you guys. I think it’s because our room was never properly styled and I kept waiting until we got our act together to finish it. Two years later…tada! The gist? We had a mission style headboard that I wasn’t crazy about, but I didn’t want to dump or ruin it since it was a gift. So I decided to be sneaky, and today I’m finally sharing it with you. Let’s learn how to create an upholstered mission style headboard insert!
 So I will warn you, it’s pretty involved, and it will definitely take two people. But I’m totally happy with the outcome. Actually that’s not true, I wish I tufted for a little more character (find a great tutorial for that here). But other than that it’s perfect. I got the fabric on CRAZY discount ($7 a meter or something insane like that) and used old scrap fabric, wood, and foam. The whole project probably cost me about $30. Ummm SCORE! Bonus: I was SO happy to have good cushiony back support when squirrelly babe was a newbie nursing throughout the night. I couldn’t imagine resting against cold hard wood at 2 am. Then 3 am. Then 4:30 am….
 Oh my gosh it just looks so much better. As I mentioned above, I didn’t want to ruin our existing headboard but we had no place to store it either, so this was the perfect solution. While I’m tempted to make a whole bunch of panels and swap them out with the seasons (wouldn’t that be fun?) I’ll stick with this beauty for a long while. Or maybe I’ll make one more….tufted….
Ok folks let’s get making!

M A T E R I A L S
- Plywood
- 3″ foam
- Spray Adhesive
- Cotton batting
- An old sheet or other cloth
- Upholstery fabric
- Fabric scissors
- Staple gun
- Power drill and screws
- Measuring tape
S T E P S
- Measure the inset portion of your headboard and cut your plywood to size. From now on the plywood will be called the insert.
- Cut the foam to approximately half an inch larger than the insert, all the way around. Adhere the foam using spray adhesive. Allow it to fully dry before moving on to the next step.
- Cut your cotton batting, old sheet/cloth, and upholster fabric to at least 8 inches larger than the foam. Lay the cotton batting on a large surface, then rest the insert (foam side down) on top in the centre. Start in the corners, stapling the cotton batting to the back all the way around, making sure to pull it taut as you go.
- Lay the insert, cotton batting/foam side down, on top of the old sheet/cloth and repeat the process. The best way to staple is to start at the corners, folding over then stapling the centre, then the corners one at a time. See next photos for example.
- Repeat the same process with your upholstered fabric. Remember to keep the fabric taut so it doesn’t pucker on the front. To make it super secure, don’t be shy about the number of staples you use.
- Measure the width of the open slats on your mission head board. Cut four pieces of wood to this size. Next, measure the distance between 6 or so slats and cut two pieces of wood to this size. Here’s where you need to do some math. You will need to screw in four vertical pieces of wood that will fit between the slats, so measure your headboard to see where each wood will fit in. If it’s off by half an inch then the panel will not slide into place.
- Two person job here: Have one person hold the panel in place while the other person works from the back side of the head board. This person will lay a long piece of wood across and screw it into the slat panels. Repeat with the other slat of wood.
- Phew! All done! Take a break girl you deserve it.
 Okay so remember how I said I made this headboard panel two years ago? Well that’s when the step by step photos were taken and truth be told, they aren’t fab. Just in case you’re a little unclear about how we did this, here’s a diagram for the tricker parts:
 Of course if you still have questions, go on and pop it in the comments or shoot me an e-mail!


Tan, this is so clever!! I love solutions like this for modifying furniture. It looks beautiful. Also I totally sat on a DIY project for three years before finally sharing it. lol!
Thanks Marlene! Hah aren’t we fantastic procrastinators?