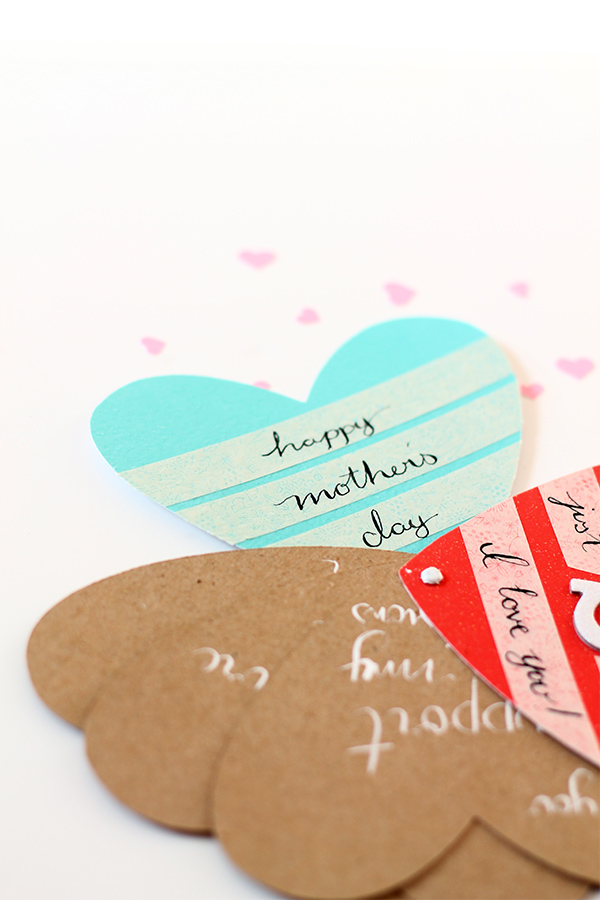
My students have been making homemade cards for their mothers this week, and it made me think, as we become adults, why do we opt for the hallmark seasonal aisle instead of putting in the same time and love into cards for the woman we love most? And so, a DIY card is in order.
 I don’t know about you but I keep every scrap of scrapbook paper. I always feel like I’ll use it again, and so I did with this Mother’s day flower card.
Here’s what you’ll need:

Steps
 Step #1: Fold your scrap paper in half, the underside out (if your paper has two sides). Draw half a flower (any shape) with the centre along the fold. Cut it out. This will be flower a.
 Step #2: On the underside of another piece of scrap paper, lightly trace your cut out flower. Cut it with scissors approximately 1cm in from the tracing line so you end up with a slightly smaller duplicate, which we’ll call flower b.
Step #3: Repeat step 2 with flower b to create a smaller flower (flower c!).
 Step #4: Pinch each petal to give the flower some volume.
 Step #5: Starting with flower c (the smallest), punch a brad through the centre, followed by flower b then lastly flower a (the largest). Flatten the prongs on the back of the flower.
Step #6: Hot glue your flower onto your card stock.
 Step #7: Repeat steps 1-7 as much as desired. You can make several flowers in different shapes and colours, or one large one.
 Step #8: This step is optional, but if you have washi tape lying around, you can put it on your card to add some more colour and pattern.
 Voila! Address your card to mom (or mãe if you’re Portuguese like me) with a lovely note inside and attach to a beautiful bouquet.


Those flowers are so cute! I haven’t used brads since I was a kid. I need to become more crafty…
It just takes practice 😉