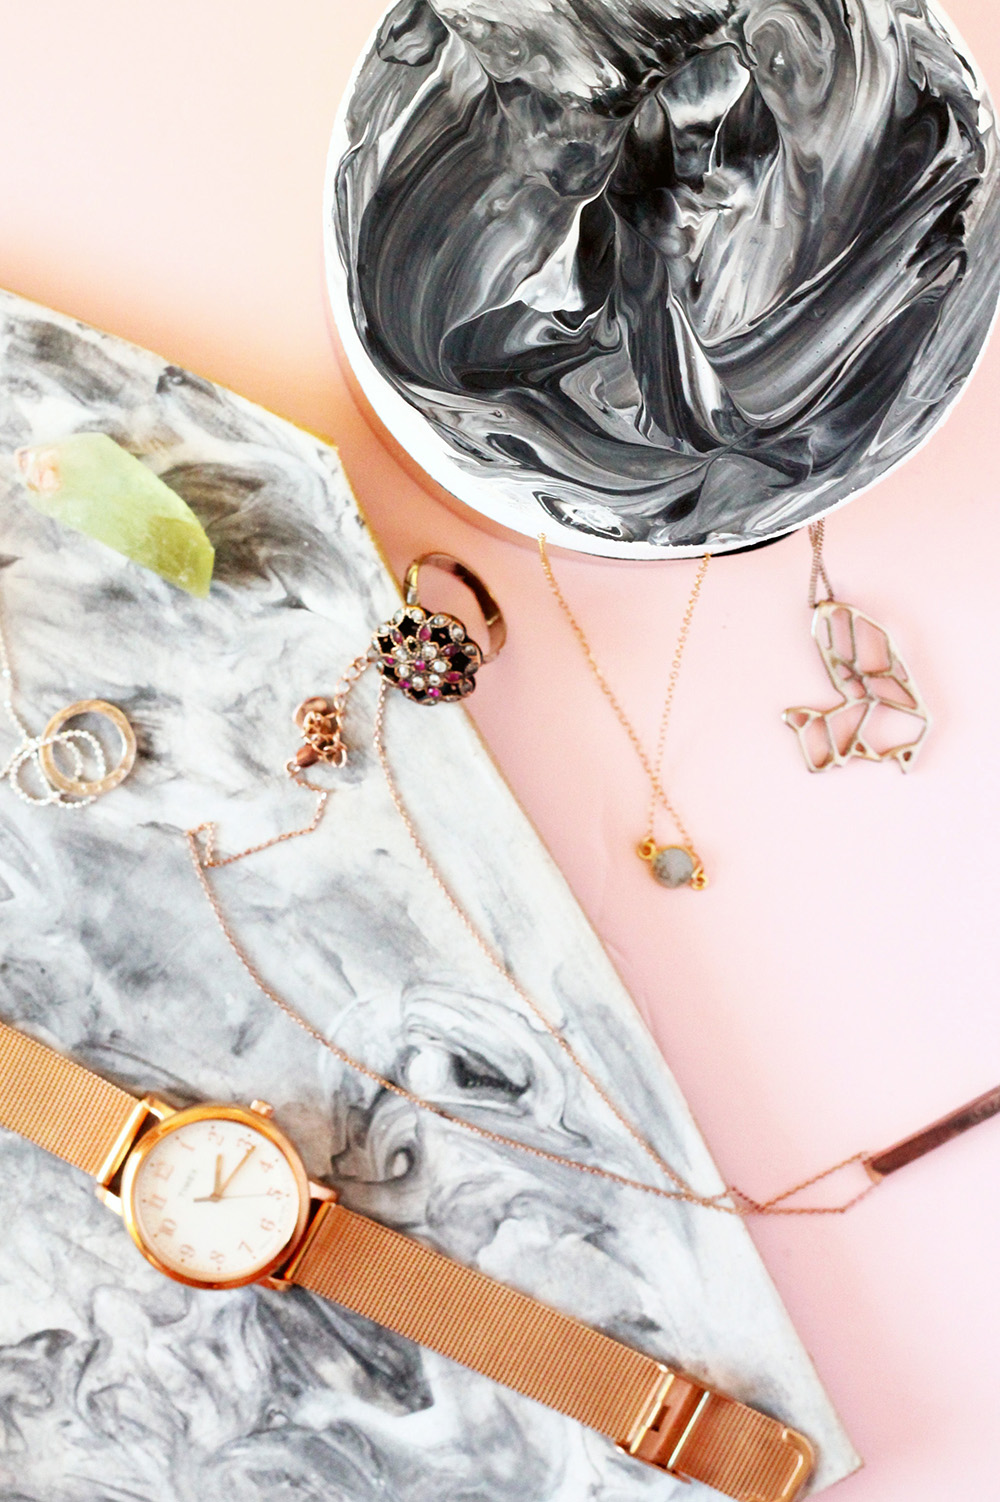
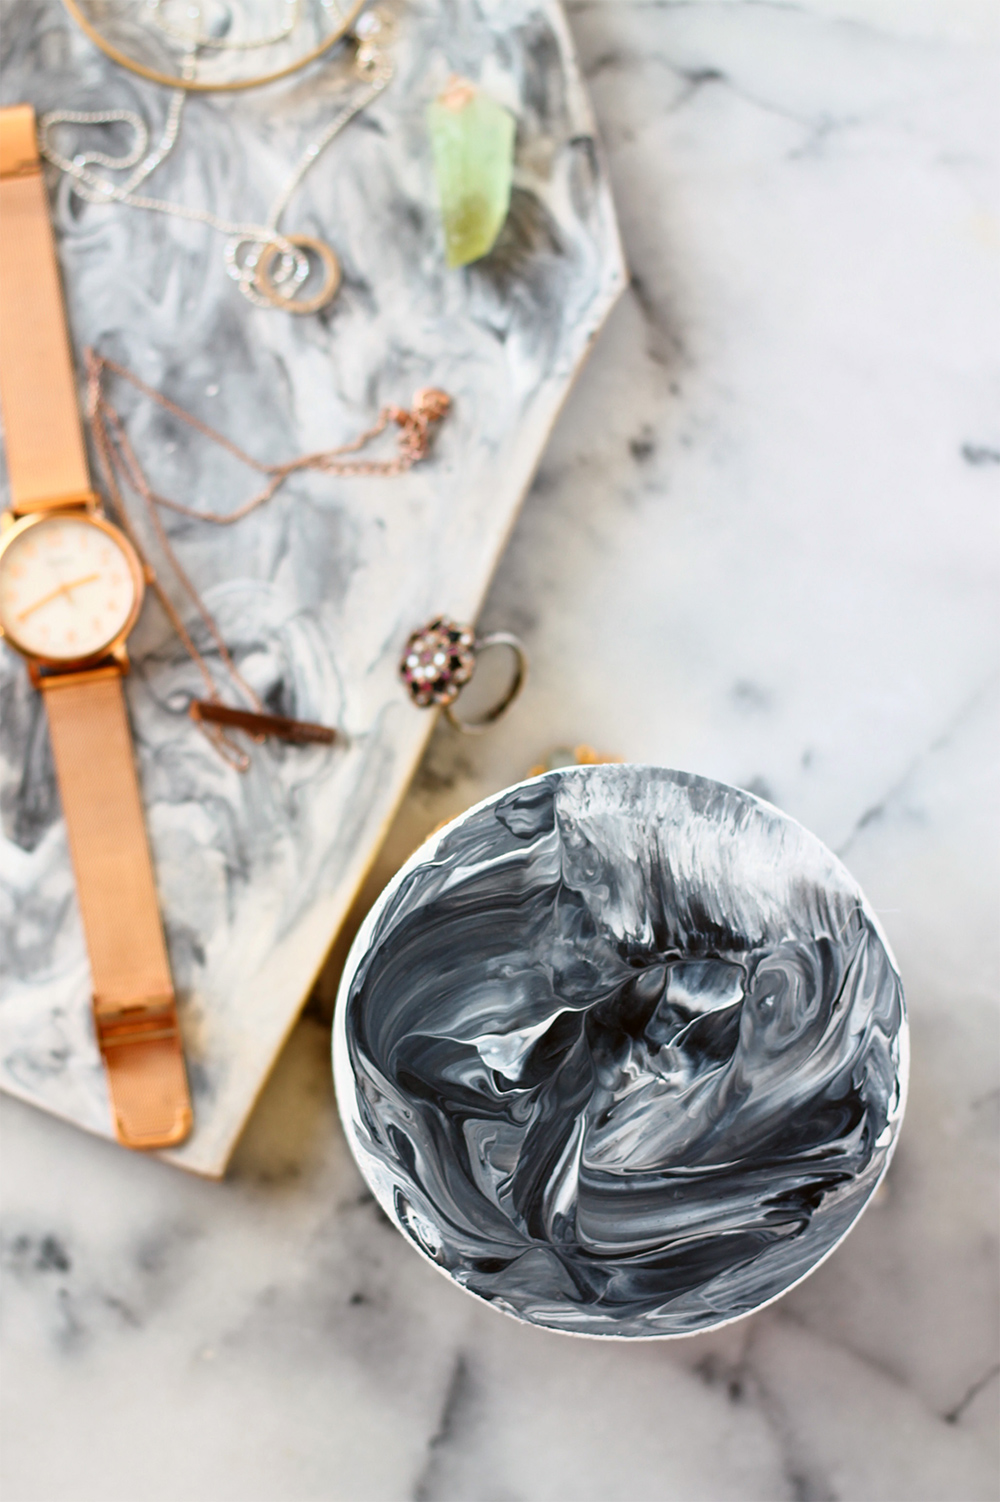
 So let’s talk marble. It’s awesome right? I mean, there’s just instant class and style when marble is involved. (Well certain marble. I’m sure as hell not talking about this ugly stuff).
 But with beauty often comes a price that, if you’re a broke cheapskate like me, sometimes you’re just not willing to pay. So make it to fake it baby! (See what I did there? Yeah I’m pretty clever folks).
 Last year I did a ceramics workshop where I made the above tray. I couldn’t decide how to paint it, so I channeled my inner child, got my fingers messy and played. Yes, I am giving you permission to be a child AND make something pretty! No sequins or primary coloured pom poms here folks (though they have their place). Just straight up class.
 Before we start, let me give you a little warning though. It’s REALLY easy to REALLY mess this up. Okay no, it’s not actually hard, but there’s such a desire to over do it. So here’s a little tip: RESIST THE URGE TO PERFECT. Really, if it looks pretty good that means it actually looks awesome. Otherwise you’ll end up with a grey mess (cause ya know, black+white=grey).
Now that you have the most important tip, let’s get to it!
Materials
- Black and white paint – acrylic or ceramic
- Ceramic or wood object

 Yep, that’s really all you need. I used ceramic paint for the ceramic clay, but for the wooden box I used acrylic white paint with ceramic black paint. No special reason, just cause it’s what I had. Good thing too cause it worked out great.
Steps
1 Put a generous amount of white paint on your surface and spread with your finger. A very generous amount.
2 Add one, maybe two drops of black paint on the white paint. If you want a lighter ‘marble’, use less black paint.
3 With a light touch, mix the black paint into the white. If it’s too dark you can add more white paint. But like I said above, be sure not to over mix it otherwise it will turn grey. If this does happen you can always wipe off the entire surface and try again. It’s okay, I had to do it too.
 You can add additional details if you so choose. I cut a strip of Silhouette Printable Gold Foil and adhered it to the bottom. Ya know, you can never go wrong with a bit of gold flair.


Oh wow, Tan! I would never have guessed that finger painting could look this good! Love it!