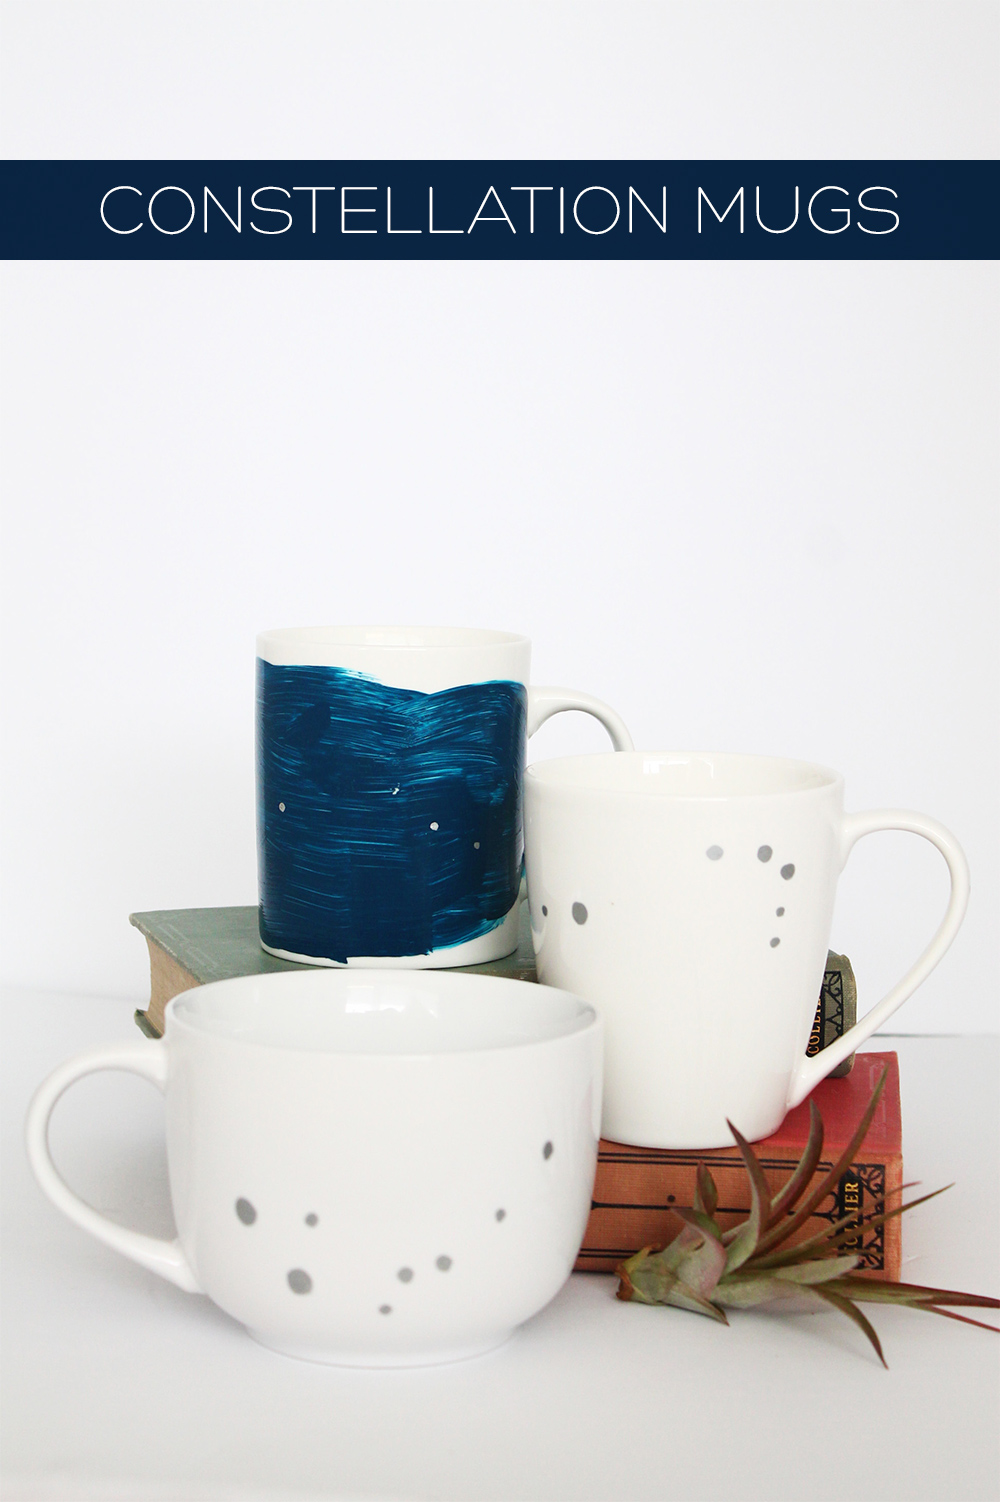
 I’m a big sucker for the stars and constellations. I have the most rotten time trying to find them when staring at the night sky, but I know they’re there. I’m also a big sucker for symbolism, especially those connected to birth dates, so me and the zodiac constellations are pretty tight. I kind of want to plaster them on everything, but I figured I’d start with customizing some plain white dollar store mugs.
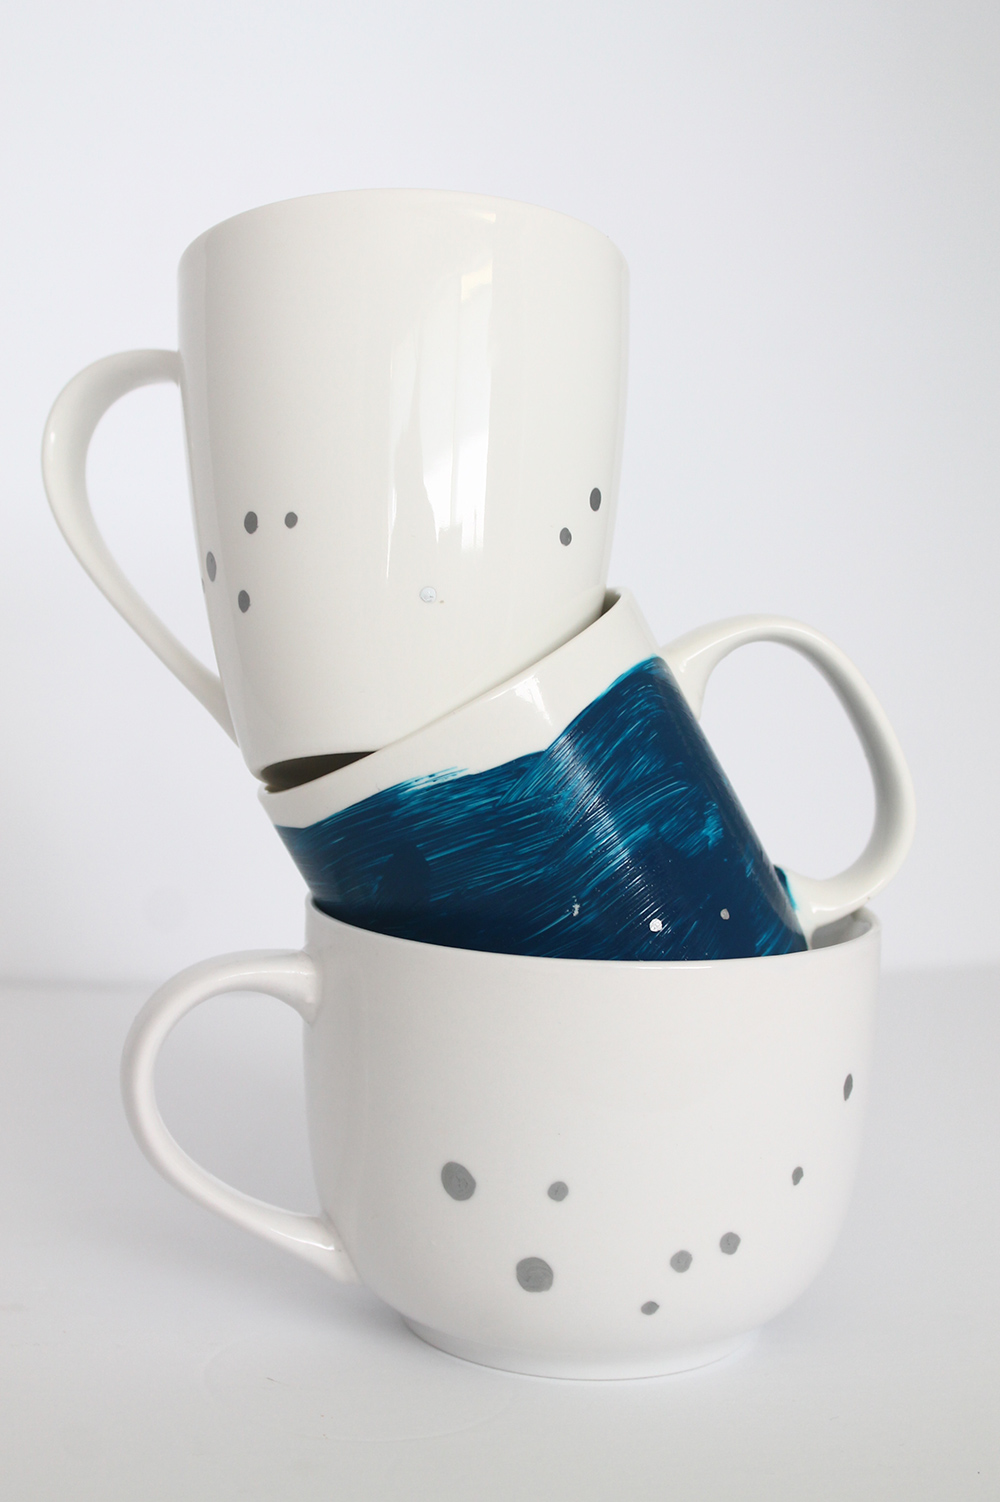
 I did two styles – one with blue ceramic paint background and silver sharpie stars, and the other two with just the silver sharpie stars. Honestly I’m not sure which I like more! And of course you could do gold sharpie or navy sharpie, or perhaps do a black background with gold sharpie – totally your call! That’s half the fun.
 Have you ever used ceramic paint or sharpie markers to design a mug? It’s pretty well the most genius thing ever because it’s so darn easy. This was my first time doing it despite seeing it around for ages. I had to make mugs using constellation patterns because it’s just so pretty and meaningful – they make fantastic birthday gifts.
 I first painted my zodiac constellation (scorpio holla!) on ceramic when I went to a pottery paint night last year. I free handed it and it turned out all right, but not as perfect as I would have liked. To avoid any more disappointment I created templates for each constellation. They’re 10 inches long and 2.5 inches wide, enough to fit around most mug sizes. Now a note to any hard core astronomy peeps out there – I had to skew the constellation so it would fit within this size, so they aren’t a perfect replica of what you see in the sky.
But that’s ok. It’s still pretty.

Materials
- Plain ceramic mug
- Constellation templates (below)
- Permanent sharpie marker
- Tape
- Pin
- Scissors
- Plain paper
Optional items:
- Ceramic paint
- Sponge brush
- Pencil
Steps
1 Wash and dry your mug. If you want to paint a blue background using ceramic paint, this is the time to do so. Use your sponge brush to paint all around. Leave the mug for one hour before proceeding. Print your constellation (download is below) and poke holes on each dot using a pin. You don’t need to make the hole the same size as the dot.
2 Tape the template around your mug. (If you used ceramic paint you may have to forego the tape and carefully hold the template instead). Mark each dot with your sharpie, making sure you dot the mug. Note that as you go around the paper won’t conform right to your mug, so you’ll have to shift it a bit here and there to flatten the paper against the ceramic surface.
3 Now that you know roughly how the constellation lays, fill in the circles. Use the template as a guide to know what size to make each star.

4 This part is optional – if you’d like to write the name of the constellation on the handle, bottom, or on the mug face itself but are afraid about making a mistake, write it in pencil first. You’ll have to press quite hard, but it’ll be just dark enough to see, and can easily rub off if you make a mistake. When complete, write over the pencil in sharpie.
5 Place your mug in a cold oven. Turn the oven to 350F and bake for 30 minutes – this includes preheating! At 30 minutes turn off the oven, but leave the mugs in the oven to cool. The reason for leaving them in during preheating and cooling down is because you want the mugs to gradually warm up and cool down to avoid cracking. I took one out a little too early and heard a tiny crack so be patient and leave them in there!
6 Once they’re cool, give them a wash and they’re ready to go! They’re even dishwasher safe.
Download the pdf above to get your constellations. There are two per page, so just cut out the constellation you need. Each one is labelled, because I’d be impressed if you knew all your constellations.
 There you have it! Happy DIYing friends <3


I love these! My favorite piece of jewelry is a gold circle with the Taurus constellation punched in it – now I need a matching coffee mug! <3
-Clarissa @ The View From Here
Ohh that sounds so pretty! And what a perfect match that would be
Love this idea!