 We’ve slowly been redoing our pink bungalow, and the kitchen got a mini makeover months ago in white and copper (yes, I will finally reveal it to you all next week!). We had a lot of fun implementing copper pipe into our design, and knew a copper pipe paper towel holder would have to be included. With counter space being so precious however, I wanted one that was suspended off the cabinets. And so, the mister got brainstorming.
 Off he went to the hardware store and came back with a plethora of goodies. It’s true, I can’t take credit for this DIY. It really was all the brainwork of the mister. But I will tell you this one thing – this DIY is simple enough for me or anyone to put together, so don’t let the materials scare you off. Though you may have to just show the list to a store clerk and let them shop for you. At least I would.
Materials
- A – 1 copper pipe, 1/2 inch
- B – 1 90° female to male copper elbow, 1/2 inch
- C – 1 copper cap, 1/2 inch
- D – 1 3/4 inch to 1/2 inch copper reducer
- E – 1 3/4 inch thread to tube adapter
- F – 1 90° female to female copper elbow, 1/2 inch
- G – 1 galvanized floor flange, 3/4 inch
- Pipe cutter or hacksaw
- 4 screws, 1/2 inch
- Steel wool
- Crazy glue
Be patient, now it’s IKEA assembly time.
 1 Using a pipe cutter or hacksaw, cut one length of pipe approximately 1 inch longer than your paper towels. Cut another approximately 4 inches – long enough that your paper towel has space to roll, but not so far down that it’s in your way. Remember that the mounting equipment will add 1-2 inches. Smooth the cut edges with steel wool.
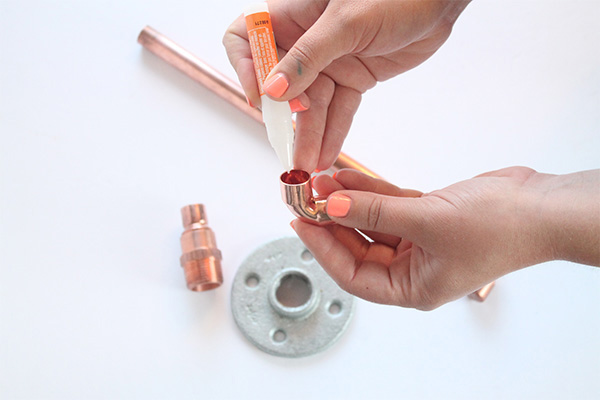
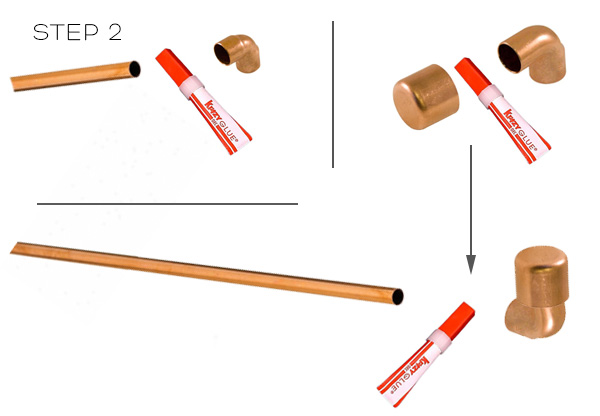 2 Place a generous amount of crazy glue around the rim of your female to female elbow. Insert the shorter piece of copper tube, pressing firmly until it’s in place. Put crazy glue into your copper cap, then insert the narrower (male) end of your female to male elbow into the copper cap. Lastly, glue the wider (female) end of the elbow, and firmly insert the long copper pipe. You should now have a short piece of pipe with an open elbow, and a long piece of pipe with a capped elbow (as shown in the materials photo).

 3 Place glue into the open elbow and firmly place the long pipe inside. Make sure to align the short pipe and long pipe (as shown in the picture) to keep it square.
 4 Glue the wide end of the reducer into the open end of the threaded adapter. Screw the flange onto the end of the adapter. Glue the free end of the short pipe into the open end of the reducer.

5 Screw the floor flange onto the bottom of your cupboard in the position you’d like. Place your paper towel roll on the pipe and you’re good to go!
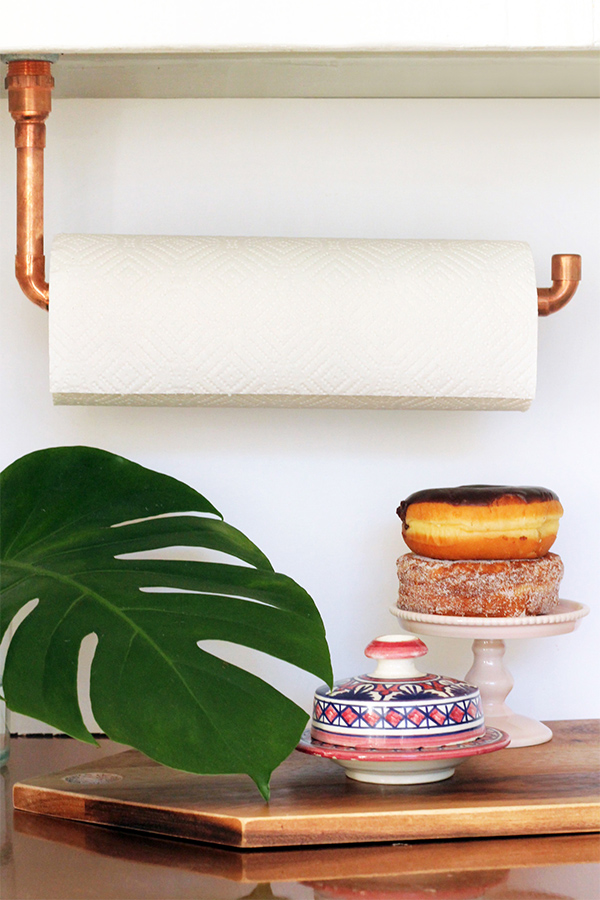 Looking at all these steps you might be thinking “WTH TAN? You expect me to put this all together?”. It may look confusing on screen, but once you have all the pieces in front of you it really is quite simple to put together. Like I said above, even I could do it, and when it comes to handyman kind of stuff, that says a lot.
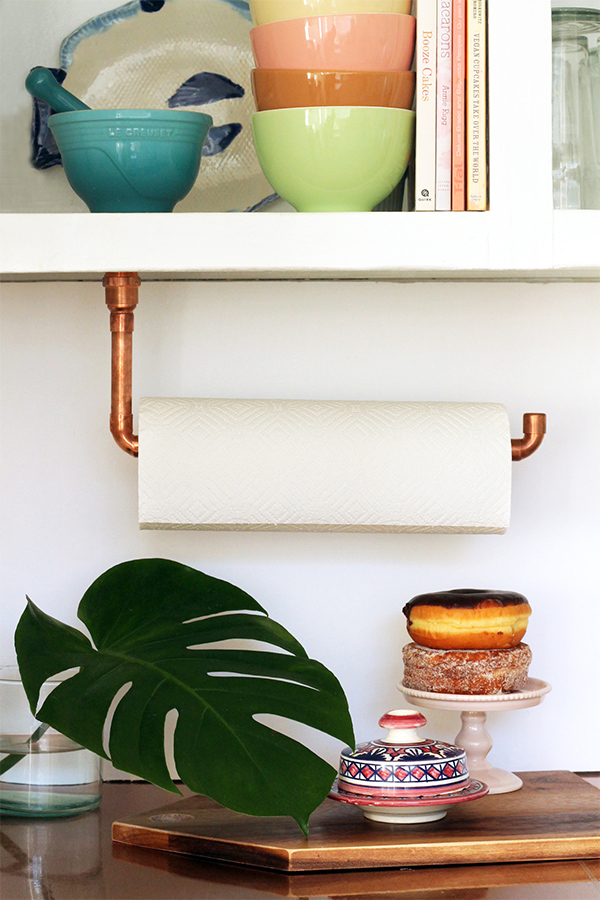




Holy cow this is amazing! Really love how it turned out, Tan 🙂
Thanks so much Rachel!
Totally turned out amazing!!! (Pictures and all!)
Thanks Amy! <3
Thanks this is beautiful, I will try in my kitchen. thanks.
This is an amazing idea!I always love anything copper 🙂
YES! This is such an awesome DIY! We are remodeling a travel trailer to live in and this might just make an appearance! 😀
xx
Lauren Jade
Lauren Jade Lately
Simplify Life, Maximize Happiness
That’ll be perfect!
this is actually a really amaizng use for copper… in my country its treated as trash which is such a sad reality.