 Isn’t she gorgeous? I’m so excited to have Sara Carle here today to not only answer questions about makeup, but to give us tips and even a DIY recipe for chapped lips. This girl has tons of knowledge and she’s here to share it with you. And did you know, this girl not only does makeup, but she is also an incredible hair dresser (she did a darn fine job making me look spectacular on my wedding day) and a photographer. Talk about complete package!
Thanks Sara for being with us today! Let’s start the q&a.
 The best way to ensure the longevity of your brushes while helping give you a flawless makeup application every time, is by keeping a consistent brush cleaning schedule. Cleaning your brushes not only removes old makeup buildup, but removes dirt, bacterial, oils and dead skin cells that can irritate your skin and cause unwanted breakouts.
In an ideal world I would tell you to clean your makeup brushes every day after use, and I can just hear the excuses piling up now (“I don’t have time”, “It’s too much work” being the most common excuse I hear), but since I know that many don’t live in an ideal world I suggest these guidelines for keeping your brushes clean and soft while keeping your skin happy:
Foundation/Concealer*, Powder and Blush Brushes – Once a week
Eye shadow Brushes – Every 2-3 Days
Eyeliner and Lipstick Brushes – Every Day
*To those who suffer from acne, you are best to have a clean foundation/concealer brush at all times to prevent clogging your pores with oil and dirt.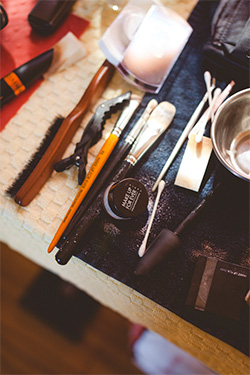
How To Clean Your Makeup Brushes:
- Wet the hairs of your brush under the faucet with warm water, ensuring the hairs are pointing downwards to prevent water getting into the ferrule (metal part) of your brush. -Using a gentle brush shampoo such as MAC’s Brush Cleanser apply a small into the palm of your hand, and swipe your brush head back and forth through the shampoo, and gently squeeze the hairs from ferrule to tip. Rinse and repeat until the water runs clear, making sure that when you are rinsing you keep the brush hairs pointed in a downward direction.
- Gently squeeze the excess water out of the brush, and lay you brushes down onto a clean towel, reshaping the point to prevent splaying of the bristles. Do no leave your wet brushes in an upright holder as the water can run down the ferrule causing the glue to loosen over time.
- Let Brushes dry completely before use.
Short on time and your makeup brush just isn’t doing its job, try this Quick Daily Disinfection Tip:
Using a brush disinfecting spray such as Sephora’s Daily Brush Cleaner; Lightly spray the cleaner onto a paper towel, or for tough stains directly onto the brush and swipe the brush head back and forth over a paper towel or tissue repeatedly until there is no more product coming off being careful not flatten out your bristles. The solution dries within minutes, which is good when you are in a rush.
 If you’ve hit the routine rut try a little splash of colour to spice things up.
Option 1: Pairing bold lips (reds, pinks and corals are really hot this spring) with a neutral eye shadow and a bold brow. Lipstick too much for your personal style? Try a tinted lip gloss with a punch of colour (such as Nars Angelika)
Option 2: Give your eyes a spark of coloured eyeliner, this seasons colours being bright blue, pink, vibrant emerald greens, orange and yellows. Spring has sprung and colour is all around.
Option 3: Want something a little more classic? Try a sultry daytime Smokey Eye look using some a soft peach, gold and browns.

Eyebrows should be an essential part of your normal beauty routine if you want your pretty little peepers to pop, both on daytime and night time looks. The road to beautiful brow’s is only a few steps away, however good prep work is a must.
- Get your brows professionally waxed or threaded every once and while to help form a good shape to you brows.
- Thicker is better, full brows portray youth so don’t go tweezer crazy, put the tweezers down and back away. You want a clean shape without it looking harsh and overdone.
- The ideal brow shape is thicker on the inner part, tapering into a thinner line as it goes towards your temple.
For Natural Looking Brows, use a powder instead of pencil:
For the most natural brows, use a matte finish tan or brown eye shadow to fill in with. Take an angled eyebrow brush to fill in the sparse area’s and create a more defined brow. The best color for blondes is MAC’s eye shadow in Wedge and for brunette I find MAC’s eye shadow in Cork or Make Up Forever’s eye shadow in Matte Espresso 166 typically works well. Once you are comfortable with powders and want a stronger staying powder I recommend trying Make Up Forever’s Aqua Brow.
* Avoid black eyebrow pencils, even if you are very dark-skinned, black is typically too heavy and a dark brown will be sufficient.
How To Create The Ideal Brow Shape:
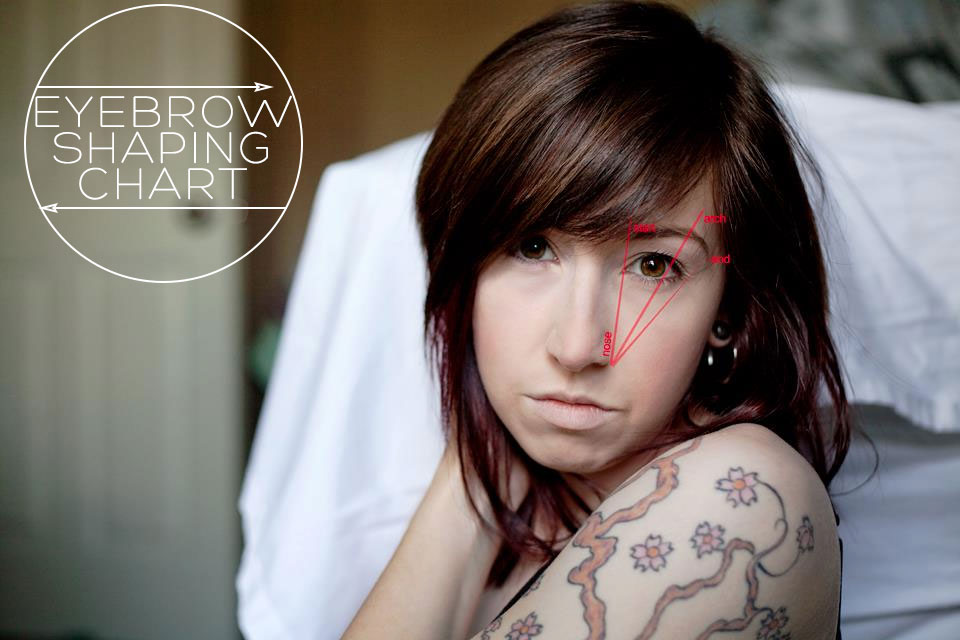
The create the ideal brow starts with holding a brush vertical to your nose, it should line up with the beginning of your brows, however depending on the symmetry of your nose, or placement of your eyes,
this method may not work. If this is the case then use your tear-ducts as a reference of where your brows should start. The arch should ideally line up with the edge of your iris with your brow ending on a diagonal from the outer corner of your eye.

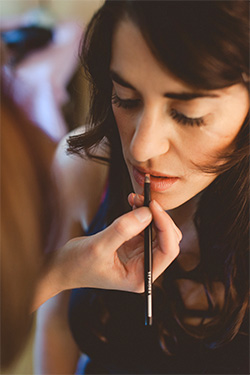
Prevention of chapped lips is always key, however if you are in a pinch and need to get those flaky lips looking to their pouty perfection on the fly use a gentle exfoliating lip scrub (Lush’s Sweet Lips is a good option).
A Good DIY Lip Scrub Recipe:
In a small container mix well:
-2 Tbsp. of sugar
-1 Tbsp. of honey
-1 Drop Peppermint Oil
Apply this homemade lip scrub with clean fingertips then rinse it away, finish by applying coconut oil to repair some of the sensitive/damaged skin quickly.

I recommend having at least two concealer shades in your arsenal. Choosing one concealer that matches your skin tone that you should be able to use it all over your face, and a lighter one that has an under pigment in the opposite direction of the colour of your under eye circles.
Taking a look at the colour of your under eye circles will help you decide what concealer is appropriate:
Purple Undertones – Yellow Based Concealer
Blue Undertones – Orange Based Concealer
Green Undertone – Pink Based Concealer
A couple good options are Make Up Forever’s 5 Camouflage Cream Palette and Laura Mercier’s Secret Camouflage.
When applying your concealer make sure to avoid the windshield under eye effect by applying your concealer in a triangle shape from the inner corner of your eye, down the side of your nose up to outer corner of your eye, and blend, blend, blend.
* Dry skin has a tendency to “grab” makeup so to avoid making those concealed area’s stand out, ensure the skin is adequately hydrated before you begin and use a good makeup primer.
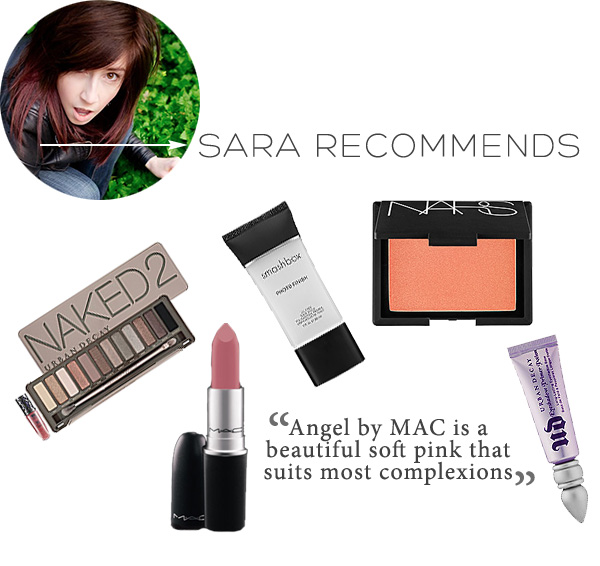
You can find Sara and her photography here and, if you’re lucky enough to be in the Victoria BC area, you can make an appointment with her for hair and/or makeup at Sparrow Salon. I can attest to her mad skills friends!
Thank you Sara for all your incredible advice. I for one know I’m going to start cleaning my makeup brushes more often…
What’s your routine makeup look?


Nars Orgasm has been my go-to blush for years! Love it.
Great tips ladies!
Great post!
So much great information in this post! I definitely appreciate/need to concealer tips… I’m a night owl and my girls like to wake up early which does not bode well for the under eye area. 😛 Will have to check out that Angel shade… I love MAC products!